In this video, I break down the four simple steps to Midi mapping any controller in Ableton live.
What You Need
In order to map a controller in Ableton, you will need the following things
- Ableton live
- All versions of Ableton Live will work
- A midi controller or Keyboard
- My favorite keyboard is the Keylab 88
- My favorite controller is the Novation Launch Control XL
- USB or MIDI connection
- Connecting directly to your computer will work fine, but if you are like me and need to connect many devices, I highly recommend the USB hub made by Anker
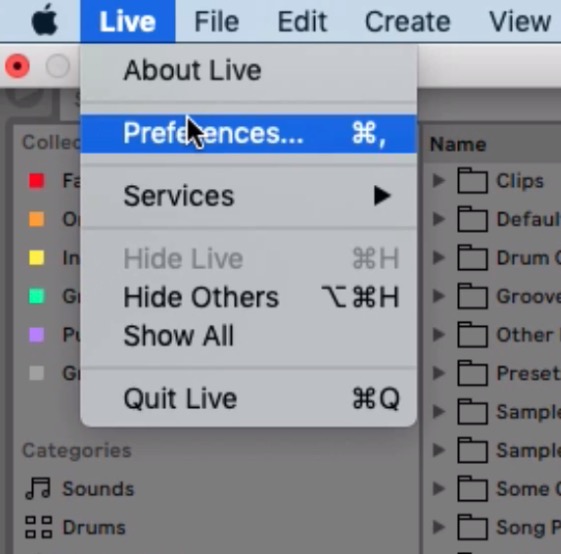
Step 1 (open settings)
- The fastest way to do this is to use the shortcut Command – ,
- You can also choose Live → Preferences
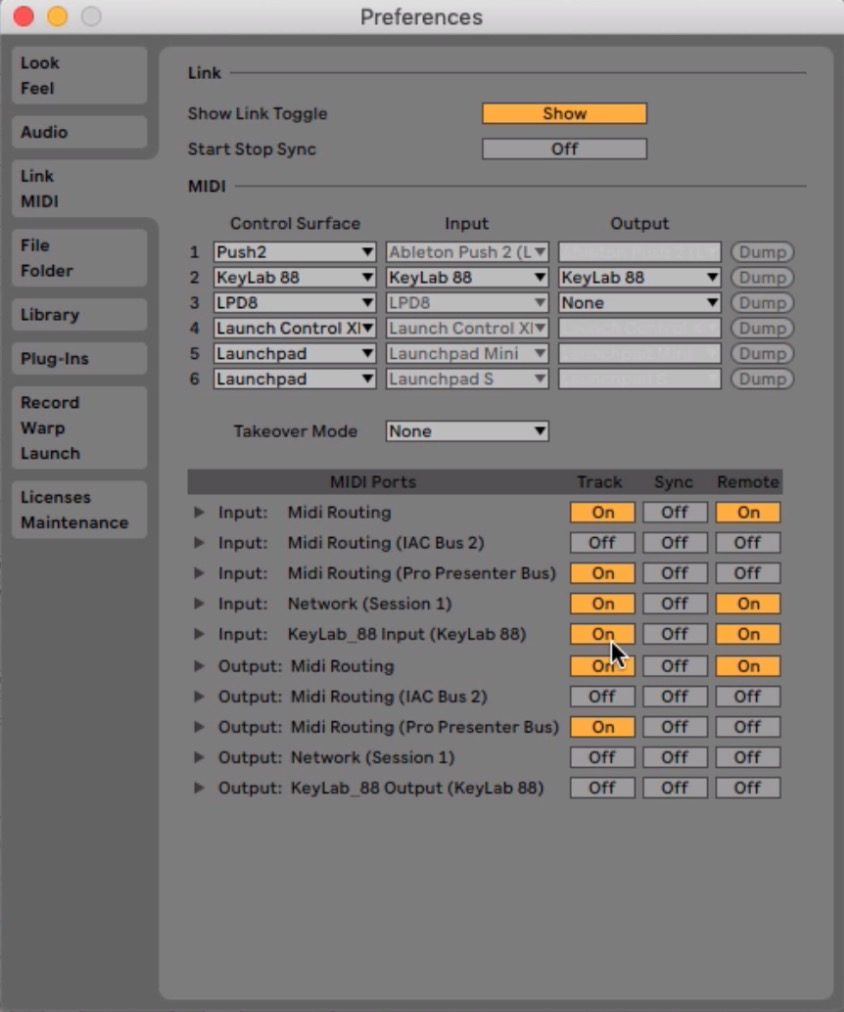
Step 2 (set up midi preferences)
In order for your controller work, we need to edit some settings here.
- Navigate to the Link/Midi Tab
- Turn on both Remote, and Track if you are using a midi keyboard
- Turn on just remote if you are using a controller only.
- Repeat for both “input” and “output”
For more details about the Midi settings, you can check out my detailed post about them here.
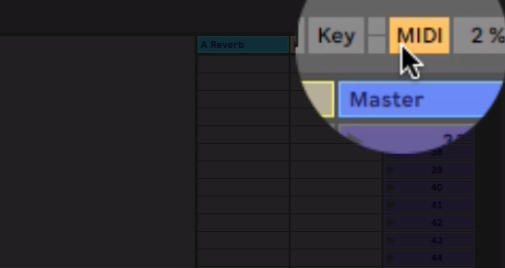
Step 3 (Enter Midi Mapping mode)
You can quickly enter Midi Mapping mode by using the keyboard shortcut Command, M. You can also click in the top right hand corner of the screen where the button is labeled “midi”
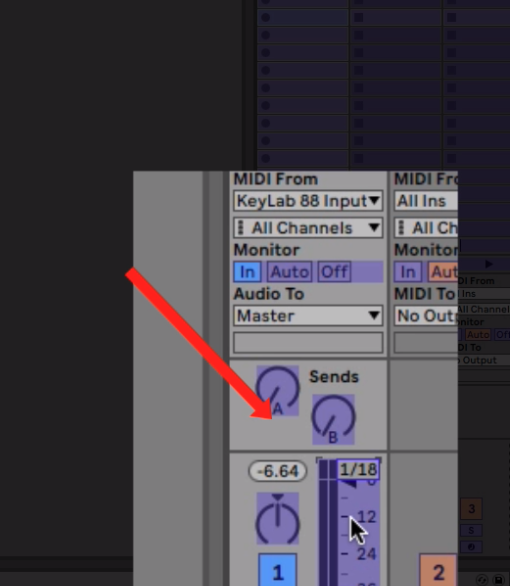
Step 4 (map)
Once you are in Midi mapping mode, any mappable parameter will be highlighted. You can easily assign any knob fader or button your controller by:
- Clicking the parameter you would wish to control on your screen
- Choosing the knob or fader on your physical device, and moving it.
You will know the parameter is mapped when you see a little menu appear over the mapped parameter displaying the midi information if recieved
If you want to learn more about Ableton, Sound Design, and Playing Keyboards live, take a moment to download the the quick synth map It’s full of great tips for building sounds, and will get you plugged into the Live Keyboardist community.