You can set up a keyboard split by creating instrument rack and adjusting the key range. That would 100% work. The challenge comes when you need to have a split that can be adjusted. I find that more often than not, my instrument ranges do need to be adjusted throughout the set. I used to use a sort of clunky Max for Live device to accomplish this, however recently I have taken up using Ableton’s built-in “Pitch” plug-in to create an adjustable key range split. It’s a native, concise, and reliable way to accomplish the task.
Pro’s of the “Pitch” Plug-In
The Pitch Plug-in is completely automatable. What that means for you is using dummy clips, you can make one pitch plugin set many different ranges.
When I’ve used it
When I am playing keyboard 2 for musicals, I often have sounds that switch between the right and left hands through the show. Using the pitch plug-in rather than setting key ranges in an instrument rack allows me to not create duplicates of instruments just to change hands.
Playing with my band: We often have sounds that are repurposed all over the keyboard at different times. Again, being able to set ranges, and automate them
Playing live worship services where I’ve needed to cover bass parts sometimes, and just piano parts at other times during the same set.
The Pitch Plug-In

The Pitch Plug-in has three parameters.
- Pitch knob- transposes the incoming notes by half steps
- Lowest- Sets the lowest note allowed. All others below the set note are filtered out
- Range- Sets distance above the lowest note in half steps that will be passed through. All notes outside of that range will be filtered out.
For example:
If my lowest note is set to C3 and my range is set to +12, any instruments on the other side of the pitch plug-in will not receive any notes below C3, or above C4. These settings would essentially create a patch that plays one octave only.
Creating an adjustable key range split
Today we are going to use the pitch plug-in, an instrument rack, and dummy clips to create three automated keyboard split settings.
- Just E-Piano
- E-Piano Bass
- E-Piano with Bass Lead
Step 1
Drop An Instrument Rack onto a default channel strip
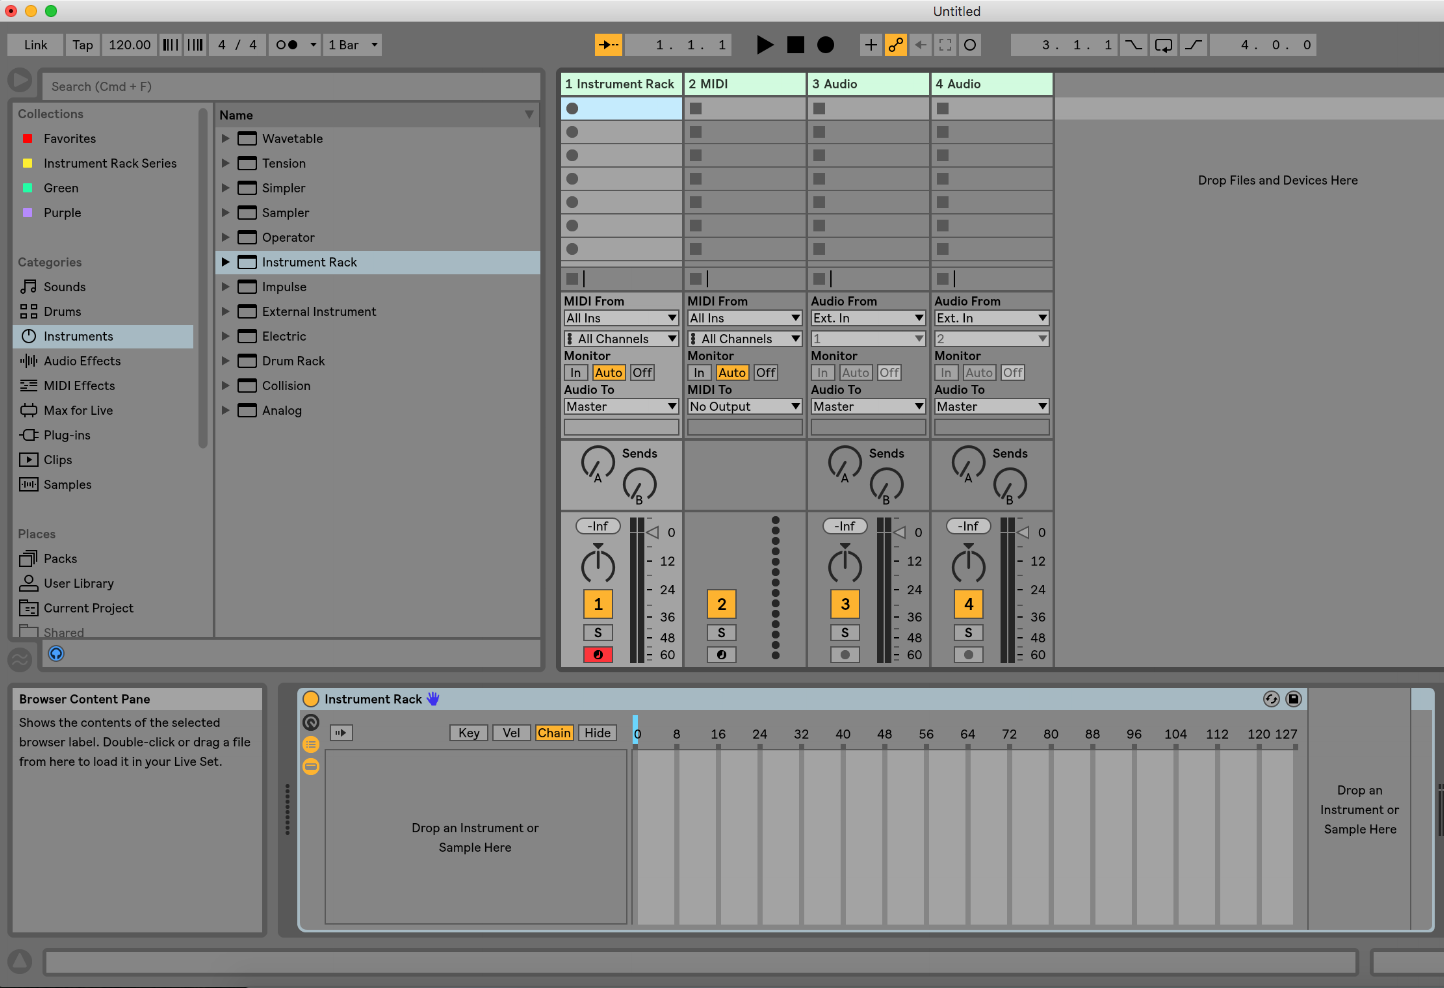
Step 2
Add a synth bass, and an E-Piano sound from your browser into the instrument rack.
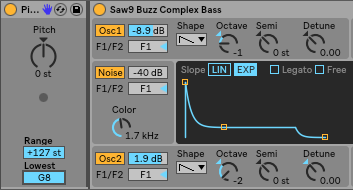
I am using Kontakt Scarbee Mark I EP and Ableton’s preset Saw9 Buzz Complex Bass from Analog
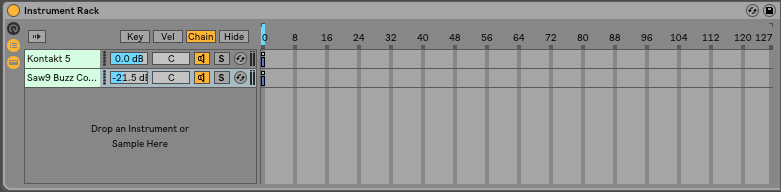
Step 3
Add a pitch device from the midi effects category of your browser to the space right before each instrument in your rack


Now we are going to use dummy clips to create the adjustable key range we want!
Step 4
Create a dummy clip by double-clicking in an empty clip slot on the midi channel strip you are currently using

First, we will create a setting for JUST e-piano
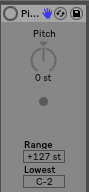
Step 5
Select your synth bass from the instrument rack, and set the “lowest” category on your pitch plug-in to G8.
This tells Ableton that the lowest note that may be passed to that instrument is G8, which is not on most keyboards! So you will have effectively turned that patch off.
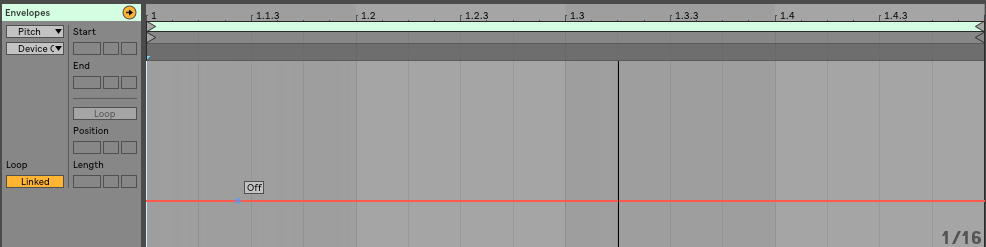
Immediately after changing the “Lowest” parameter to G8, press shift-tab on your keyboard. You will see the following at the bottom of your screen.

Ableton remembers the last parameter you adjusted and has conveniently pulled it up for you in the clip view. If you click the dotted line, you will have stored that information into the dummy clip. Take a second to do that now.
Step 7
Navigate to the EP instrument in your rack, and press the power off button.
Press control shift, and click the dotted line to record the pitch plug-in off setting in your dummy clip.
Step 8
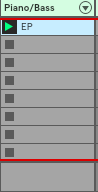
Rename your dummy clip “EP” by right mouse clicking on it, and chooseing rename
Step 9
In the clip view, make sure your clip quantization is set to “None”
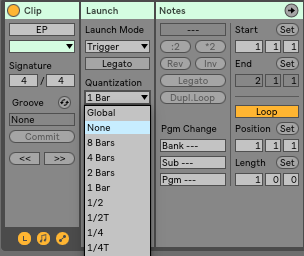
Alright! Now when you fire that clip, you should have only the EP playing.
Now, let’s set up a left-hand bass, right-hand EP Split.
Step 10
Create a new dummy clip, and label it “split”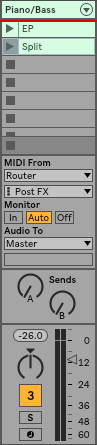
Let’s create the bass range first
Step 11
Select the bass sound from your instrument rack, and manually move the lowest parameter to C1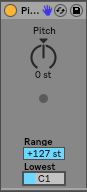
Immediately press command-tab on your keyboard, and double-click the dotted line to record that setting into your dummy clip.
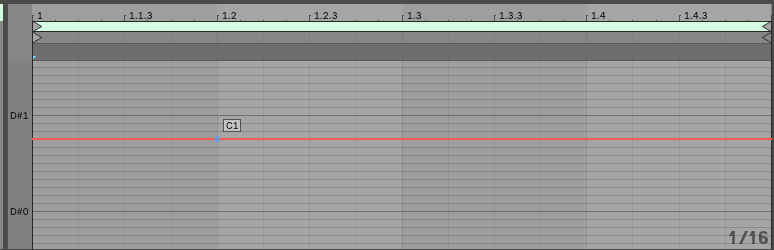
Manually move the range to +24, and repeat the above steps to record that setting into your dummy clip.
Step 12
Navigate to the EP sound and record the following settings into your dummy clip, using the same Command-tab method we used above
- Power on
- Lowest C#3 (Since the highest bass note we have is C3, this lets our EP sound start the next note higher)
- Range +127
Make sure your dummy clip’s quantization is set to none, as we did above!
Now when this clip is fired, you’ve got a left-hand bass and a right-hand EP. Let’s flip the bill here and use our bass as a lead sound by setting the bass range to the right hand, and the EP to the left hand.
Step 13
Create a new dummy clip labeled, “bass lead”
Step 14
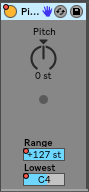
Navigate to your bass sound, and record the following pitch parameters into your newly created dummy clip, using the same methods above.
- Power On
- Lowest= C4
- Range =+127
Step 15
Navigate to your EP sound, and record the following pitch parameters into your newly created dummy clip, using the same methods above.
- Power On
- Lowest= C-2
- Range =+71
Make sure your dummy clip’s quantization is set to “none”
Now when this clip is fired, you will have the EP in the lower register, and your bass sound repurposed as a lead synth. This type of set up works great for chord triggers. Chord triggers can be turned on and off using dummy clips the same way we did with the Pitch plug-ins
Now by firing these three clips, you have three different range based settings. You can really take this concept to the moon and back if you are creative with it, and I know it will be super useful in your musical travels. If you found this helpful in creating an adjustable key range set up, share it with us on our facebook group!