Working with automation is a great way to bring your music to life.
You use automation to tell Ableton how to move and change any given parameter over a timeline. This works particularly well in arrangement view since it is so naturally tied to the timeline.
The Two Most Common Uses
Making a track
If you are using Ableton live to build a track, automation will be your friend and come in handy. For example, you may want a ton of reverb on a particular drum hit, but not anywhere else in the track. In that case, you could automate your reverb send to turn all the way up for that hit, and off for the rest of the song.
You may also use automation for turning on and off audio effects, for keeping volume levels consistent, or for panning.
Playing live
Automation is a great way to make playing live easier. Especially if you are playing music that is mostly the same every time. One of my recent projects, Fate Of Fools, has an insurmountable amount of patch changes for every song, coupled with a lot of effects.
The easiest way to work with that amount of patch changes, was to use automation to do the following
- Change patches in time with the song
- Apply desired effects in time with the song
- Make necessary adjustments to
key range of various patches while we were playing. - Adjust and turn on and off chord triggers.
If you are looking for a great way to get started with creating patch lists in Ableton, you can check out my post on that here.
The Basics of Automation In Arrangement View
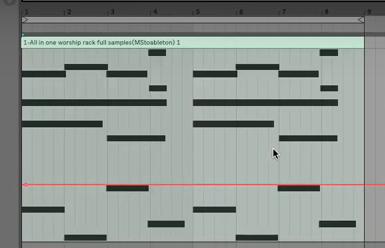
Press “A” on your typing keyboard to show/hide automation


You will notice two things when you have the automation lanes open
- On the right side of the screen, the currently displayed parameters name will appear
- In the editor window, you will see a dotted line. By creating envelopes (Which look like little dots) you can drag the
line up and down to change parameters over time.
Application
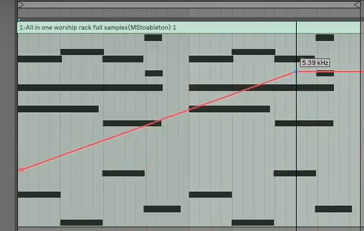
Automating a filter sweep
Step 1: After any instrument, Add the Auto Filter device from Ableton’s browser
Step 2: Press A to view automation
Step 3: Click on the Auto Filter’s frequency knob to automatically make live bring up that parameter for automation

Step 4: Click on the dotted line where you would like your automation to begin.
Step 5: Click at another point on the line, and drag upwards to automate your filter frequency opening up.
Now get creating! If you haven’t joined my mailing list, you will want to do that right away. Every Tuesday and Saturday I am going to be posting tons of valuable information that you will want to get your hands on right away.
I would love to hear from you directly. You can do that easily through my contact page, or by joining my facebook group here.