Looping is an essential feature of any DAW. When you are mixing, you may want to hear a section repeated. When you are trying to create and layer ideas, you may want to hear a section repeated.
One of the nice things about working in arrangement view is how closely tied the looping and the punch in and punch out functions are.
Enough chatter, let’s get on to the looping
How to Loop In Arrangement View
The area in the timeline that will loop is defined by the looping brackets at the top of the screen, in conjunction with whether or not the looper is activated.

To quickly move the loop brackets, select an area of the timeline using your mouse and press Command-L
You will notice the brackets have automatically moved over the area you selected. Simultaneously, the loop button on the top right of your browser has been turned on.
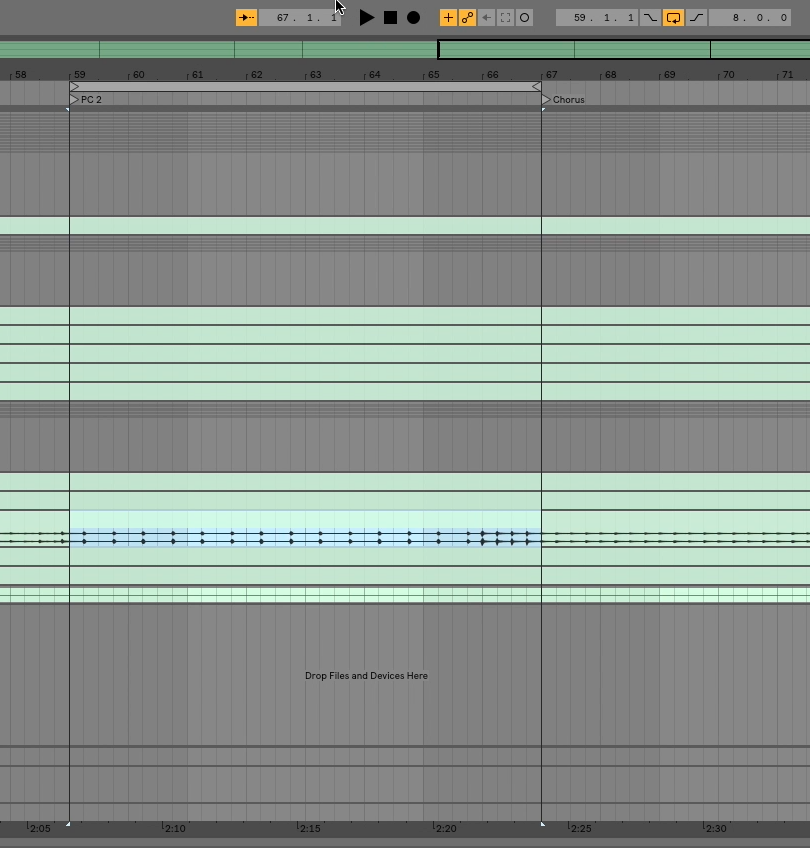
You can click and drag either side of the brackets to adjust the zone as needed.
You can also manually adjust the brackets, and manually turn the loop button on and off using your mouse.
Punch In, Punch Out
In Arrangement view the loop brackets double as a way to set the zone for which you would like to punch in or out during recording.
These buttons can be found directly to the right and the left of the loop button.

It’s important to note that the loop button does not need to be activated in order to punch in audio or midi.
How To Punch In
Step 1: Select the area of audio or midi you wish to replace.
Step 2: Press the shortcut Command-L
Step 3: Manually turn off the loop function, and click the button directly to the left, which will set Ableton to start recording in the first bracket.
Step 4: Click on the timeline in the place you would like to start hearing music before you record.
Step 5: Press Record. Audio will start where you recorded, and recording will start at the first loop bracket.
Automatically Stop Recording
By activating the punch out button, the recording will automatically stop at the end of the second loop bracket.
Pro Tip: You can use only punch in, only punch out, or both depending on your desired effect.
Punch in will start recording at a specific location, but require you to manually start it.
Punch out will end recording at a specific location, but start recording immediately.
Both will automatically start and automatically end the recording.
Alright, now get out there and make something you’re proud of. You are already taking great steps towards making awesome music. Today you learned the time-saving technique of looping and punching in/out.
I would love to be a continued resource for you. The best was to connect with me directly is to head over to my Facebook group. There you will find me, and a whole community of Ableton learners that will be able to help you on your journey. It’s a great place to give and receive support. Looking forward to seeing you there.
Until next time, happy creating.
-Brett