EQ is a way simpler tool than many people think. Boiled down to its simplest form, it is a way to adjust the volume on specific parts of the sound rather than on a whole.
This is extrememly important when you are working with multiple sounds because there is only so much space, and each of your sounds is completing for its own space along the frequency spectrum.
What Is The Audio Frequency Spectrum?
The audio frequency spectrum is the range of sounds that humans can hear.
While there are waves that move at rates outside of the human ability to hear, EQ deals only with audible sounds which exist between 20 Hz and 20 kHz.
What EQ does
An EQ will be able to see all of the frequencies crossing through it, and allow you the ability to increase or decrease the amplitude (volume) of any of those frequencies.
EQ 8 – Controls and Displays
Displays
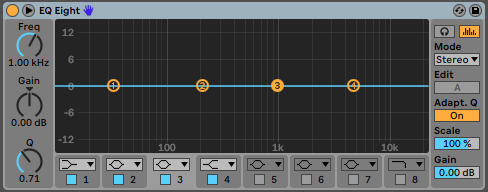
If you look closely at the bottom of the black center area, you will see some numbers. These represent the frequency range in Hz (hertz). Lower-pitched sounds have a slower frequency and are displayed to the left; higher-pitched sounds have a faster frequency and are displayed to the right.
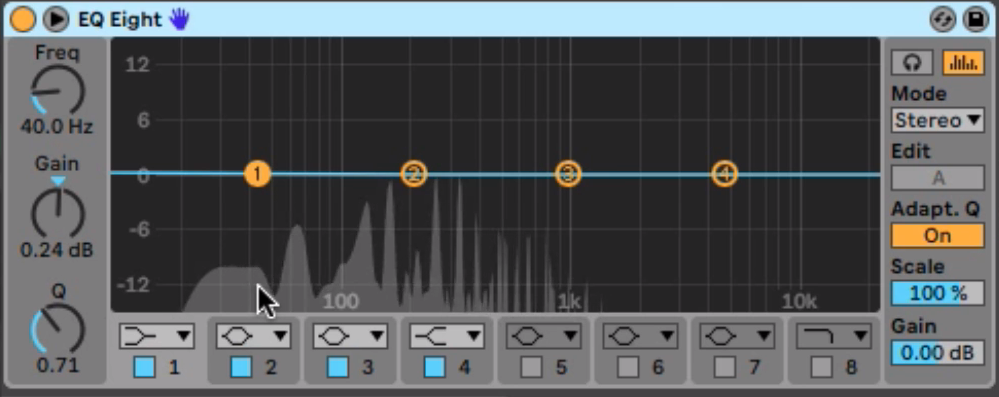
When a sound is pushed through an EQ, it displays the frequencies visually. The taller a grey bar appears, the high it’s volume.
This visual representation helps us to see what areas may need to be altered slightly.
Controls
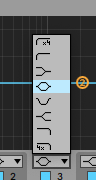
From top to bottom:
- High Pass Filter (12dB/octave)
- High Pass Filter
- Low Shelf Filter
- Bell Filter
- Notch
- High Shelf
- Low Pass Filter
- Low Pass Filter (12dB/octave)
It’s worth taking note that all of these all have the word “filter” in them. In any context, a filter separates out one thing from another. In this case, it is no different. These different filters separate out each frequency so that you can control how much volume those frequencies will have.
High Pass Filter
A high pass filter allows only the frequencies above a set point to pass through, hence the terminology “High Pass”.
Commonly, a high pass filter is used to remove frequencies below 90Hz. This isn’t a hard and fast rule, but a lot of mud and rumble exists in that area, and so it is good to make use of that frequency range sparingly.
Low Shelf
A low shelf filter reduces but doesn’t completely eliminate all frequencies below a set point.
A low shelf can help to balance out a sound if it is really resonating too much on the low end, but not so much that it needs to be completely removed.
Bell Filter
A Bell Filter is generally used in the middle frequencies and will allow you to increase or decrease the amplitude of these frequencies slightly.
This is helpful to decrease or remove bad sounding frequencies from a sound, or to help make space for other sounds in a song to pop through.
Notch Filter
A notch filter will completely remove a frequency from your sound; it is used for correcting problem frequencies. Often times a bell will be sufficient, but when it isn’t this will do the trick.
High Shelf
a high shelf allows you to adjust the volume of all frequencies above a set point. This is often used to add “Brilliance”, or in some cases to reduce harshness in a sound.
Low Pass Filter
A low pass filter allows only sounds below a set point to pass through. This is often used as an effect and generally ends up creating a warmer sound.
EQ In Action
Sound is best explained in video form. The video below will demonstrate how I use EQ to make my keyboard sounds blend well together.
What To Do Now
Make sure you are plugged in and connected with me by downloading a free copy of the quick synth map. This will really help you to understand how to work your way around a synthesizer.
If you are ready to go deep into sound design, join my course, Sound Design For Keyboardists.