Preparing for a live performance using Ableton requires four things:
- A setlist so you know what sounds and effects you will need
- The right sounds so your live set matches what you hear on recordings
- A way to control patch switching so you can move through your set easily
- A way to alter and adjust sounds for spontaneity, or to compensate for different sound systems, band member volumes, and anything else unexpected that sometimes happens.
Look at the above list closely…
…Now ask this question
How much is the same from set to set?
If you’re thinking, “Almost everything is the same from set to set”, I would not only agree with you, but go so far as to say that is the case for most people.
Start From A Template
The number one way I save time when creating a live set up is by not repeating my work.
I start from a template.
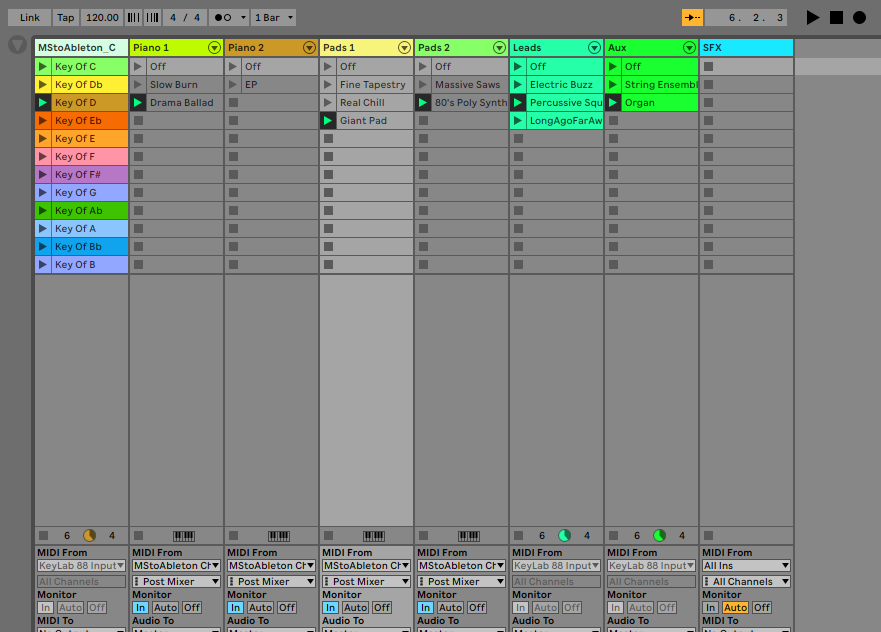
What should be included in a template?
- Commonly used sounds
- Essential MIDI mappings
- Essential Audio Effects
For 99% of anything you play, these things will be the same for you. For example, I have never played a show without some type of piano sound.
This even includes when I played the string book for an amateur production of “Singing In The Rain”.
I still had to play piano underscore for a scene change.
Do you think I have piano in my template?
You bet I do.
If you need a good place to get started, I’ve created a very basic template for you that you can just drop your sounds into and get to work.
If you need a great controller for this template, I highly recommend checking out the Novation Launch Control XL.
Program Away From Ableton
Any time I have sat down to start my programming in front of Ableton, it is a slow descent into tweaking my favorite piano patches to perfection…
While there is plenty to be gained from sound design, it does absolutely nothing for completing a live setup.
My Process
Listen and Layout

Listen to your song, and write out the patches you will need on a sheet of paper.
Be sure to include MIDI and audio effects as well.
If you are using chord triggers, make sure you decide which keys will be triggering them, and how you want that set up.
Execution: Sounds, Order, Effects
Sounds
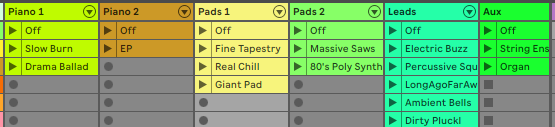
Start by adding any missing sounds to your template, and include dummy clips for each new patch so that you can easily access them later.
Order
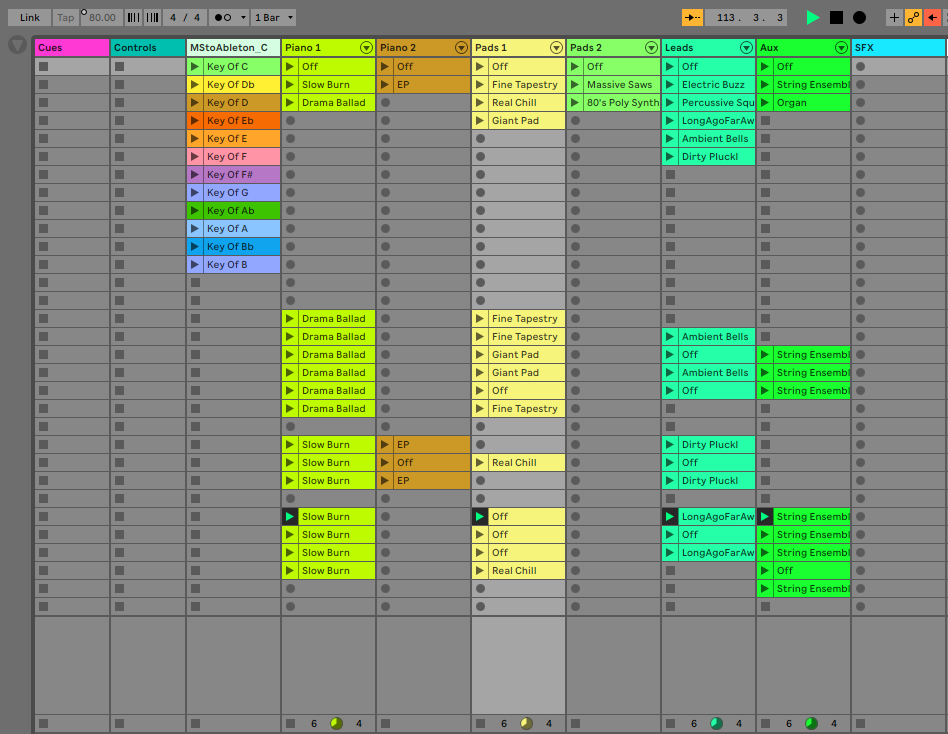
Drop your dummy clips in order down the grid.
Effects
Once you have placed all your sounds in order. go back to the beginning and add audio and MIDI effects
Certain effects I always like to control with a knob on my Launch Control XL such as volume, reverb, filter cutoff and drive.
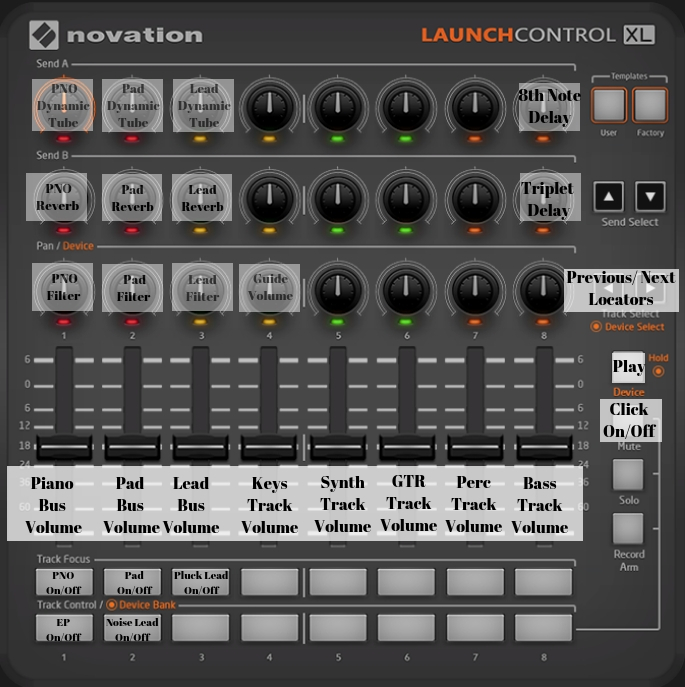
If you’re looking for a great controller, I highly recommend the Launch Control XL.

But effects that are less commonly used, and more specific to a certain patch such I will write into the dummy clip itself.
Do One Thing At A Time
Don’t start practicing until you have finished programing.
Now that doesn’t mean don’t check to see if things are working correctly, it just means don’t get distracted and play around with your songs before it’s time
Some tips to make it happen
Once you have finished your programming:
- Collect all and save
- Close Ableton
- Walk away for 10 minutes
Come back ready to run your set, and grab a pencil and paper.
As you play through your set the first time:
- Jot down what needs to be improved
- Jot down anything that needs to be fixed
- Make note of spots that require extra practice
Go all the way to the end of your set before you go back to make any fixes.
This may feel unintuitive at first, but I guarantee this is going to save a ton of time.
Running two successful businesses as well as working as a freelancer, time and time again, I have seen it ring true that working from a list is always more efficient than doing what seems the most important in the moment.
What To Do Now?
Build your template, or download my starter template.
If you want to go in depth on these principals, check out my full Mainstage To Ableton Complete Transition Course
Connect with me personally! Here is a link to my email.