Overdubbing is a wonderful tool for editing or building new ideas into previously recorded ideas. Ableton lends itself especially well to this in session view because of its design. Clips in session view are designed to be looped (okay, maybe not entirely, but looping is well integrated). Ideas can start as simple as a four on the floor kick drum. Overdubbing allows us to record additional drum parts to that original kick loop while the clip is playing back. It’s an awesome feature to be comfortable with.
What can be overdubbed?
Midi notes, Midi Automation, and Audio Automation can be overdubbed in session view. Unfortunately, Audio can’t be overdubbed. You can always combat this by creating an additional audio channel strip if you wish to overdub.
Overdubbing Midi Notes
As I mentioned above, Overdubbing allows you to add new notes to an already created part, without erasing the notes you already put down.
To test out how this works, let’s start by recording a midi clip. In this example, I am using a piano loop, but you can use whatever is inspiring you right now.
Step 1: Record A Midi Loop.
As you can see, I’ve recorded a bit of a chordal pattern.
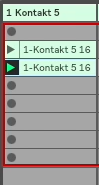
Now I want to keep this original idea, but I would like to add some additional notes over the top of it. So I am going to duplicate this clip before I add anything to it.
Step 2: Duplicate your midi clip by selecting it with your mouse and pressing Command-D
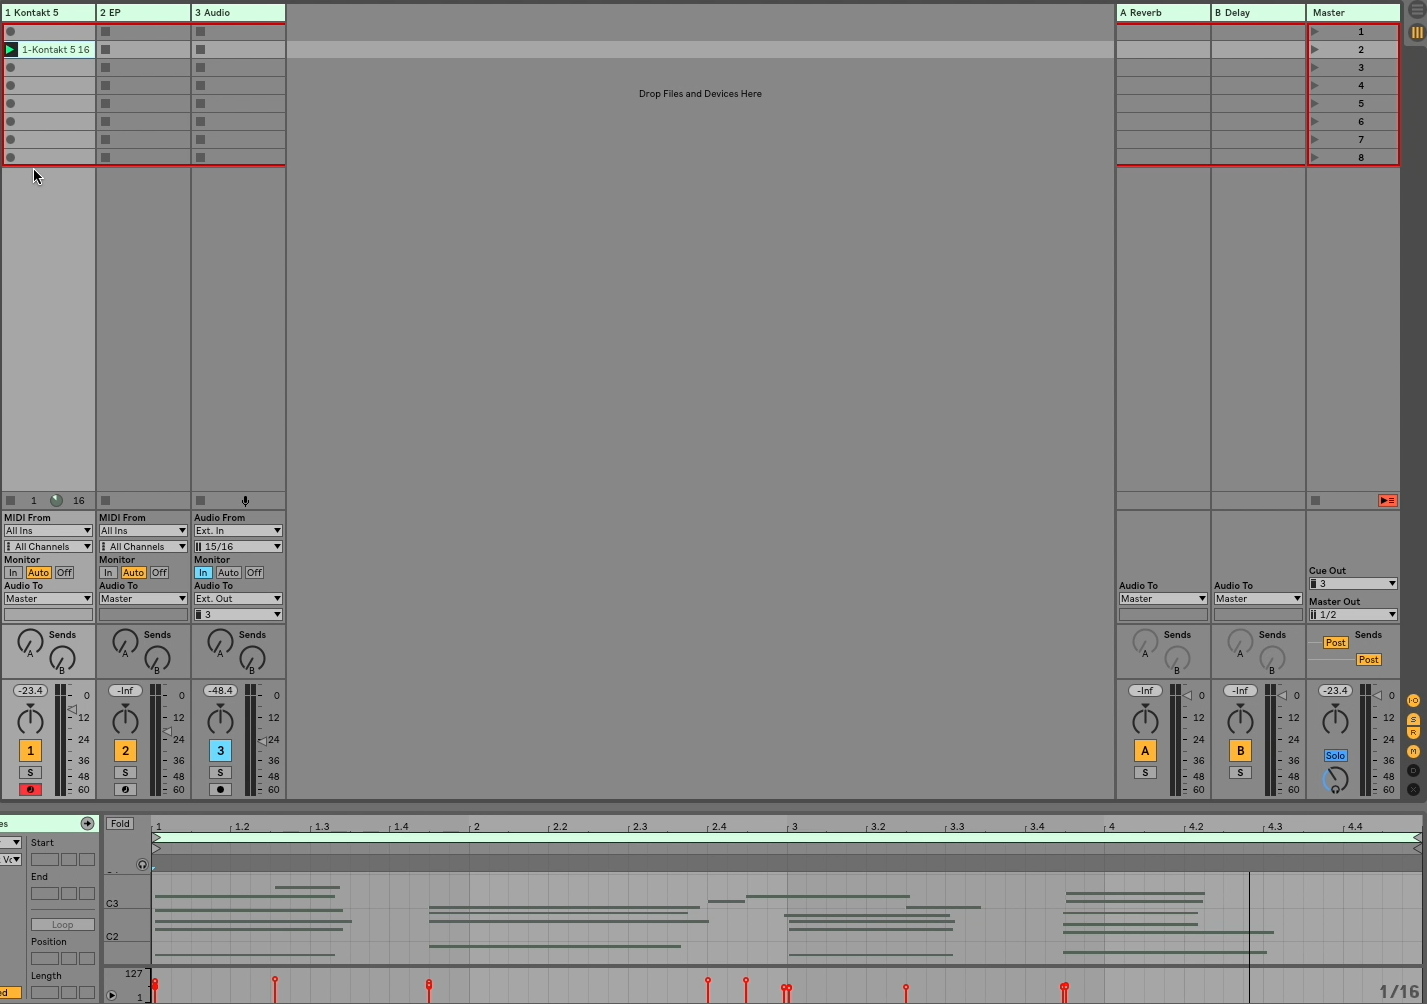
Step 3: To enter overdubbing mode, you’ll need to click the smaller, less conspicuous record button towards the top right of your screen.
![]()
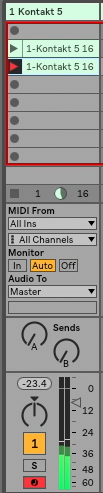
Once this button has been clicked, whichever clip was currently playing will now be all set to overdub. You will know for sure it worked because the clips fire button will turn red.
Step 4: Add any and all additional notes you would like to!
Pro tip: If you want to have your clips have a progression, duplicate your clips each time you add an idea. This will allow you to slowly “bring in” other ideas to liven up your original clip.
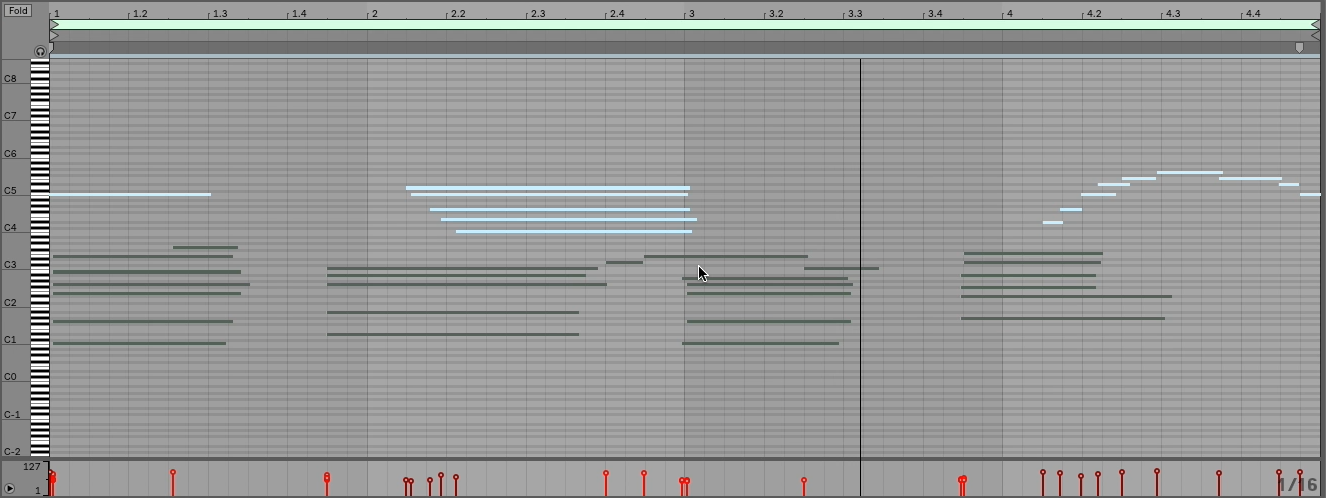
Notes that are newly entered will remain selected for easy quantizing or any other edits you may want to make. It also helps you distinguish between the new notes and the old ones.
Step 5: End overdubbing by clicking the inconspicuous record button to the right of the screen a second time.
Happy overdubbing!
I would love to connect with YOU personally. So please join me and a community of Ableton learners on our facebook page. If you have a question you would like to ask me personally, you can also reach me via our contact page.