Preset Spotlight: Lush Roads

Preset Spotlight: Lush Roads

1Sound Design, Blog, Live Playback, Presets and Sounds
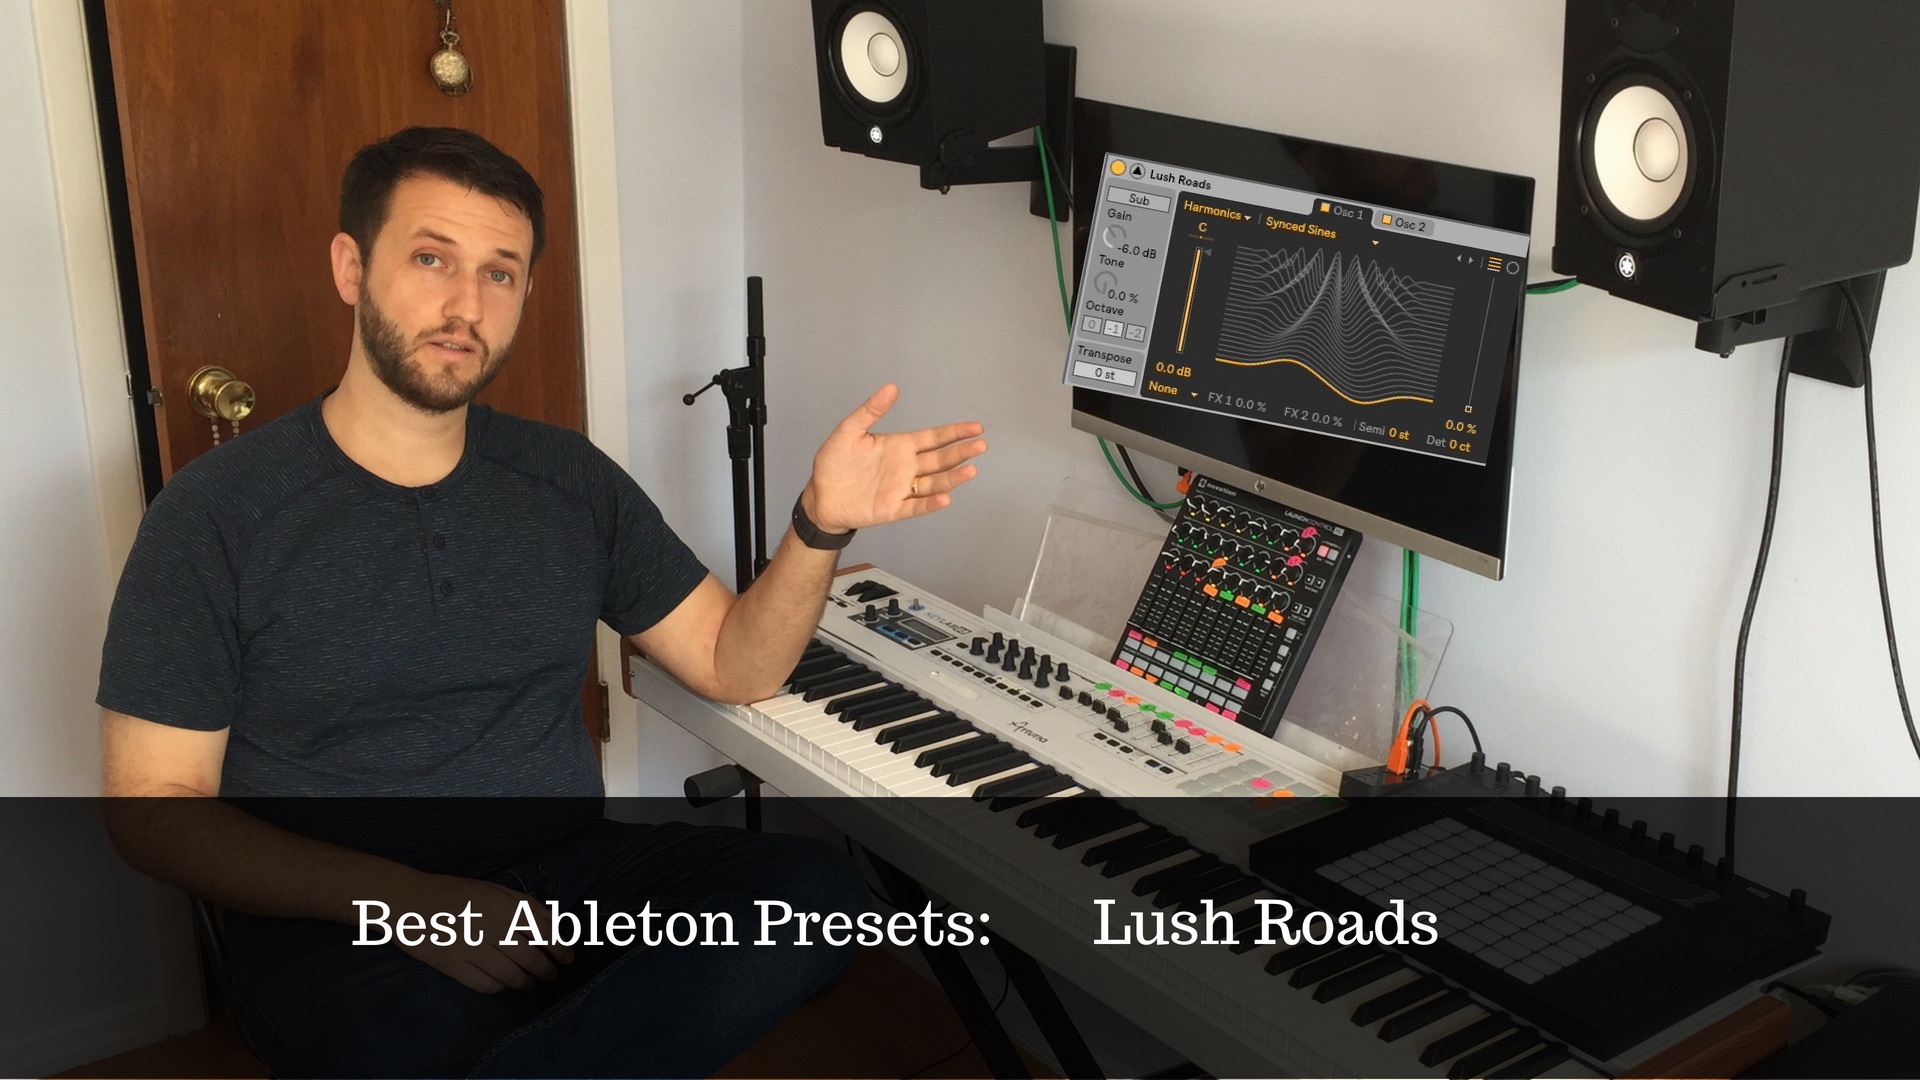
I love a good preset sound. I even love a halfway decent sound. Presets are a great starting point to make something awesome. Thankfully, Ableton is full of great presets. Recently, I've been really enjoying checking out all of the awesome wavetable presets. Today we are checking out the wavetable preset, "Lush Roads". https://youtu.be/pdSbiyRBT3g What I Love About It The Attack When you strike the first note, you may hear a slight "wah" sound. You can create this sound a few different ways. In this case, we can credit that nice audible chunk to the attack of envelope 2. Although it is relatively short, that "wah" sound is coming from the rising of oscillator 1's position. I like when sounds have an interesting quality to the attack. As a musician, we get…
Read More
Ableton’s Arpeggiator Device

Ableton’s Arpeggiator Device

1Sound Design, 1UsingAbleton, Blog, Midi, Program Features
Ableton's arpeggiator device is awesome in every way. At first, I found some of these controls to be a little cryptic, so today I am going to break them all down so you have a clear Idea of what they all do. Understanding puts the creative power in your hands. Let's begin! https://youtu.be/x0Quzf8nEew Style Style determines how Ableton will break up the chords that you play. There are 18 different options. The following shows what the arpeggiator would produce when given the input, C-E-G-C   Groove Groove determines if your notes should be played straight, or if they should be swung. You can choose swung 8ths or 16th. Hold Hold will repeat the notes you've played until you play new ones. If you physically hold any notes down with hold…
Read More
Exporting Stems To Session View

Exporting Stems To Session View

1Creating A Keyboard Set Up, 1Sound Design, Blog, Live Playback
When you are using any type of backing track for live performance, it is helpful to take everything you have created and bounce it down to stems. https://youtu.be/CAL8mLvpjkI Before we move on, here are some helpful terms to understand Bounce down: When Ableton takes the audio and midi information you have created inside the program and creates a new audio file, that sounds identical, outside of the program. Stem: A bounce down of the audio from a single track. Why should I do it? Imagine you have created a synth part on your latest soon to be hit track. You are running your synth through 2 reverb plugins, a chorus, effect, a distortion plugin, and are using a sidechained kick to create a pulsing synth effect. Ableton is taking the…
Read More
Building a Step Bass

Building a Step Bass

1Sound Design, Blog, Presets and Sounds
For today's post, we are going to use Ableton's built-in "Operator" to create a step bass. I like to think of a step bass as any bass sound that has a repeating pattern on one note. We are going to create our "stepping" sound today by making use of Ableton's arpeggiator. If you don't have Operator, or even if you don't have Ableton, you can still follow along and build this sound in virtually any synthesizer. I highly recommend synth 1 if you are just getting into building sounds and you need a good plugin to start with. https://youtu.be/u_0KUyhz-GA   Building Your Step Bass Step 1: Add an instance of Operator to a default midi channel strip. Operator is great for FM synthesis, but for our purposes today we want Operator to…
Read More
One Button Keyboard Split For Lead Lines

One Button Keyboard Split For Lead Lines

1Creating A Keyboard Set Up, 1Sound Design, Blog, Live Playback
Creating flexible keyboard splits can be helpful, especially in a live context when you need to cover more than one part at a time. Sometimes lead parts are not quite high enough to be out of the way of your left-hand pads and switching the octave makes them either lose the punch they are supposed to have or have way too much punch and become distracting Having a second keyboard is one way to solve this problem, but for those of us without a second instrument, or who would rather not bring two keyboards to a gig here is my proposed solution Create a keyboard split that has two zones  Zone 1 from the lowest key to b3 Zone 2 from c4 to the top with an extra plugin that…
Read More
Making A Pulsing Pad Sound

Making A Pulsing Pad Sound

1Sound Design, Blog, Featured, Live Playback, Presets and Sounds
How to make the pulsing synth sound you love Pads are better with a pulse. They add a heartbeat, excitement, and depth to your playing. That’s why so many songs being made now, and honestly for the last long time, incorporate this element. Think about the chorus of “I got a feeling”, or [ Insert accurate song title here ]. There is something intoxicating about the constant rise and fall of the volume: We feel its pulse, and it resonates with us. It gives the impression that the music is alive and moving. If you haven’t noticed this before, now that I’ve pointed it out, you will hear it everywhere. So how do we go about making it? Traditionally, this effect is created using something called sidechained compression. What the…
Read More
Amp Up The Juno Organ Wavetable Preset

Amp Up The Juno Organ Wavetable Preset

1Sound Design, Blog, Presets and Sounds
The Juno Organ is one of my favorite Ableton presets for the Wavetable synth. Its great right out of the box, but we're going to take a look at how we can use macros to take it up to a whole new level. All synthesizers are customizable in nature. They exist to "synthesize" or create a sound. A standing difference between Mainstage/Logic and Ableton is that in Ableton your synthesizers are visible while you are playing. In Mainstage, you can be playing a synth and have literally no control over any of its parameters. This is one of the reasons that patch level controls are so important on Mainstage. You can’t see the actual synthesizers parameters while you are playing. So if you want to be able to change the…
Read More