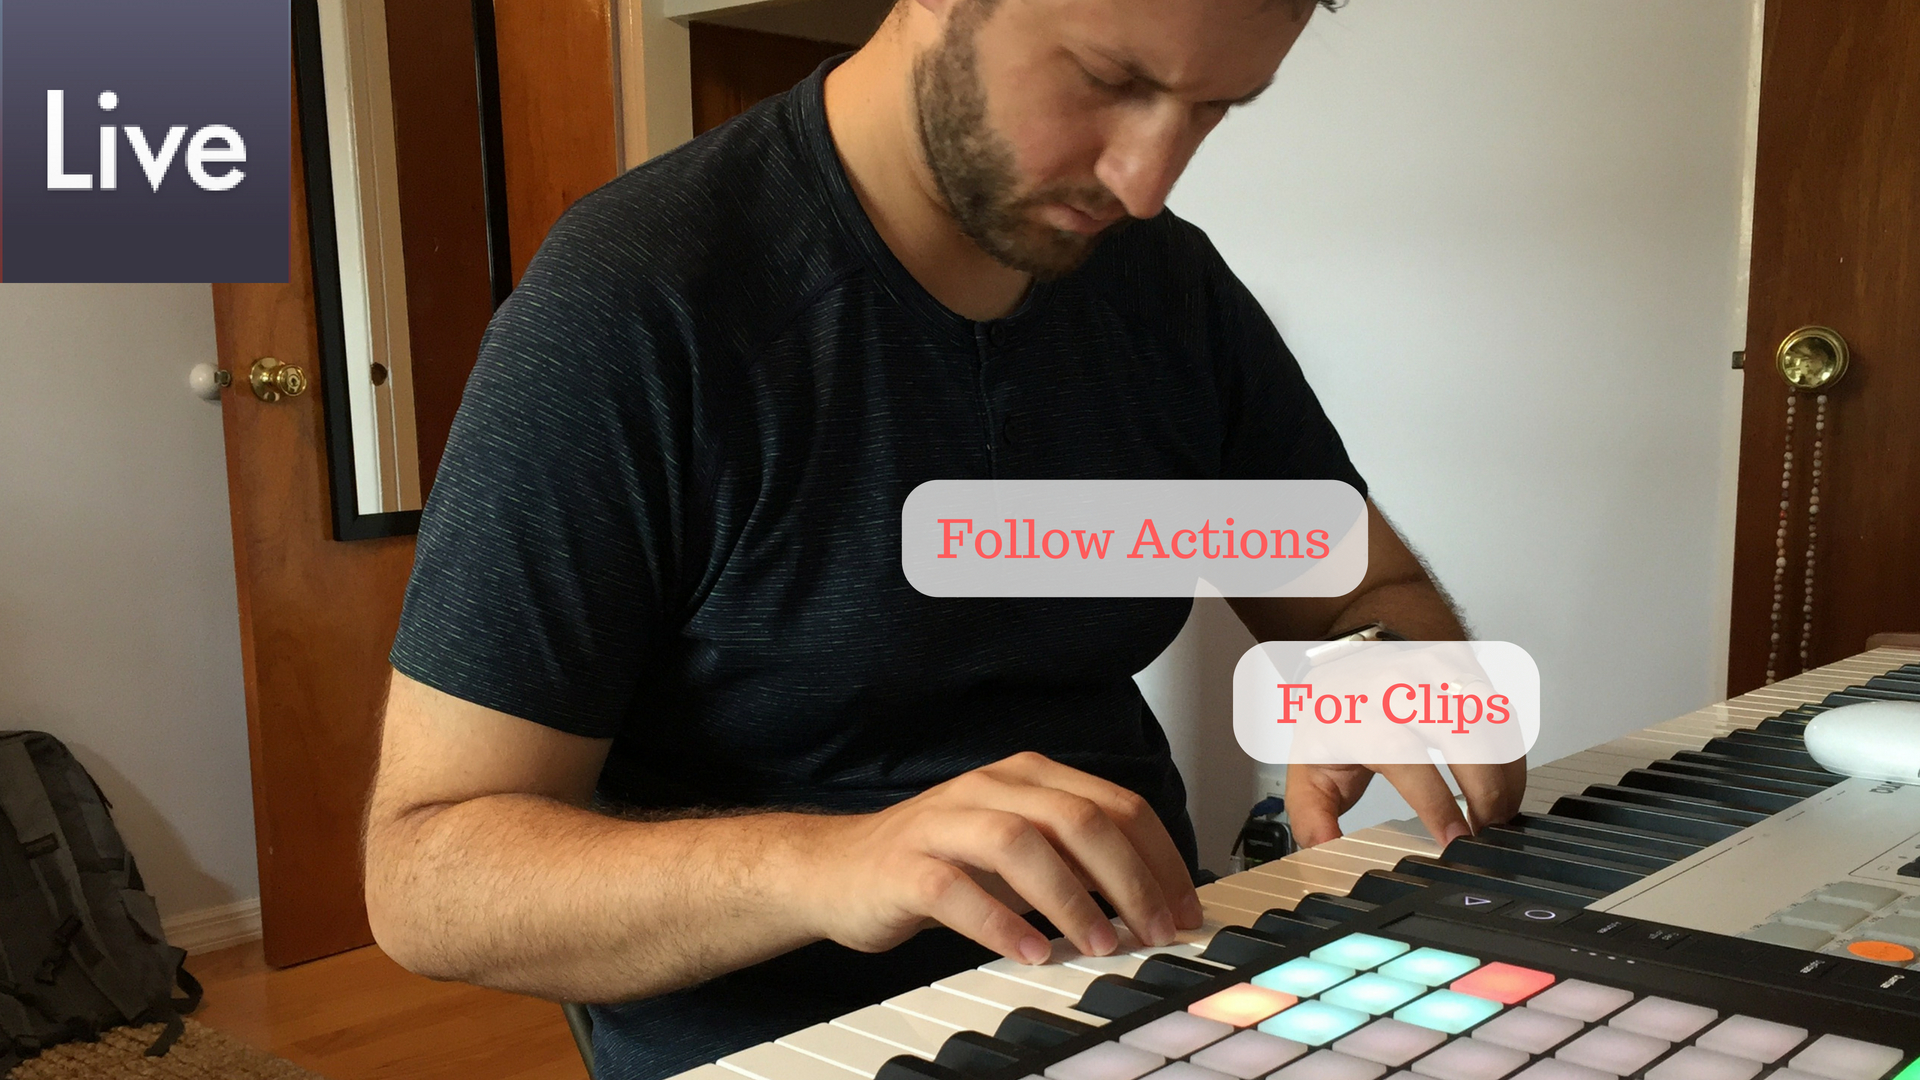
Follow Actions For Clips In Ableton

Follow Actions For Clips In Ableton

1UsingAbleton, Blog, Live Playback, Program Features
Follow actions are an essential tool to have a handle on. Whether or not you use them during a live set is somewhat irrelevant. They are an awesome way to spark creativity with random combinations of firing clips, and can also be helpful in creating a consistent song form, even if the form is spread out among multiple clips. but first a story... Not too long ago I was hired to create audio tracks for an ear training course. Most of it was honestly pretty straightforward. Record some intervals, label them and bounce them out. It was a quite robust project, however, and since the sheer amount of recordings that needed to be created were so many, It was a long and tedious job. Follow actions really came to save me on…

Read More
Start, Stop, And Loop: Session View

Start, Stop, And Loop: Session View

1UsingAbleton, Blog, Live Playback, Midi, Program Features
When making music in session view, there will be times the grid works to your advantage, and times that you need to work around the grid. Adjusting start, stop, and loop points allow you to create passages of music in a single clip that feel organic. Some Context... I have played an insane amount of musicals. For most of my life, I was always musical directing and conducting. Something that often happens in theatre is a vamp. Its a repeated bar or passage of music that happens over and over until some sort of stage action, or a line, tells you to move on. I like to think about start, stop, and loop markers like a vamp. Ableton allows you to start a clip from the beginning, but start your loop anywhere…
Read More
Using Capture in Ableton Live 10

Using Capture in Ableton Live 10

1UsingAbleton, Blog, Live Playback, Midi, Program Features
One of the features that I missed when I moved from Logic and Mainstage over to Ableton was the ability Logic has to recall what I played, even if I wasn't recording. In Ableton 10, this has been remedied with the use of the new feature, "Capture". https://youtu.be/ghUQbkwcz0k How does Capture work? Ableton is always aware of what you are playing on a monitored track. That means if your monitor input is set to, "In", or your track is record enabled, Ableton heard what you are doing. If at any point in time you want to recall what you did, you can press the capture button, or if you are working with a Push, you can use the record button + the new button. The Capture button is located to…
Read More
Preset Spotlight: Lush Roads

Preset Spotlight: Lush Roads

1Sound Design, Blog, Live Playback, Presets and Sounds
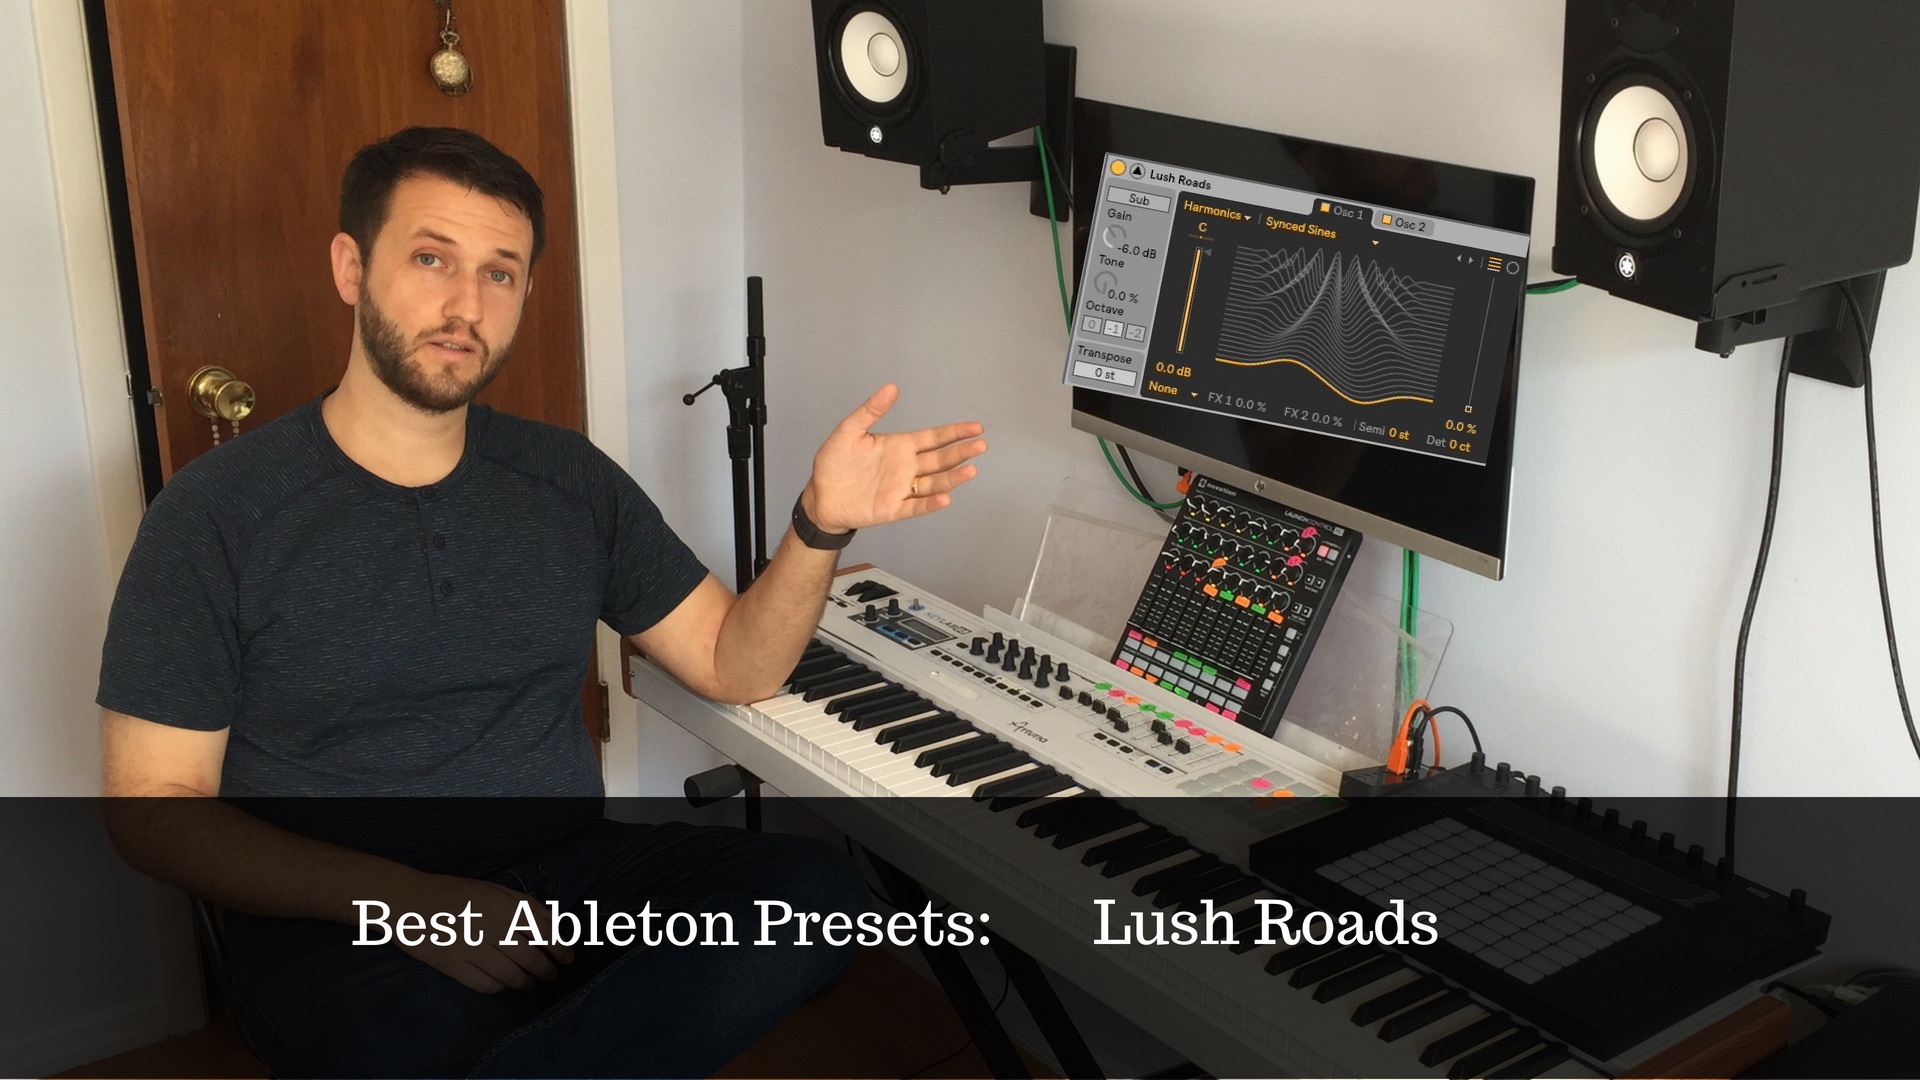
I love a good preset sound. I even love a halfway decent sound. Presets are a great starting point to make something awesome. Thankfully, Ableton is full of great presets. Recently, I've been really enjoying checking out all of the awesome wavetable presets. Today we are checking out the wavetable preset, "Lush Roads". https://youtu.be/pdSbiyRBT3g What I Love About It The Attack When you strike the first note, you may hear a slight "wah" sound. You can create this sound a few different ways. In this case, we can credit that nice audible chunk to the attack of envelope 2. Although it is relatively short, that "wah" sound is coming from the rising of oscillator 1's position. I like when sounds have an interesting quality to the attack. As a musician, we get…
Read More
Exporting Stems To Session View

Exporting Stems To Session View

1Creating A Keyboard Set Up, 1Sound Design, Blog, Live Playback
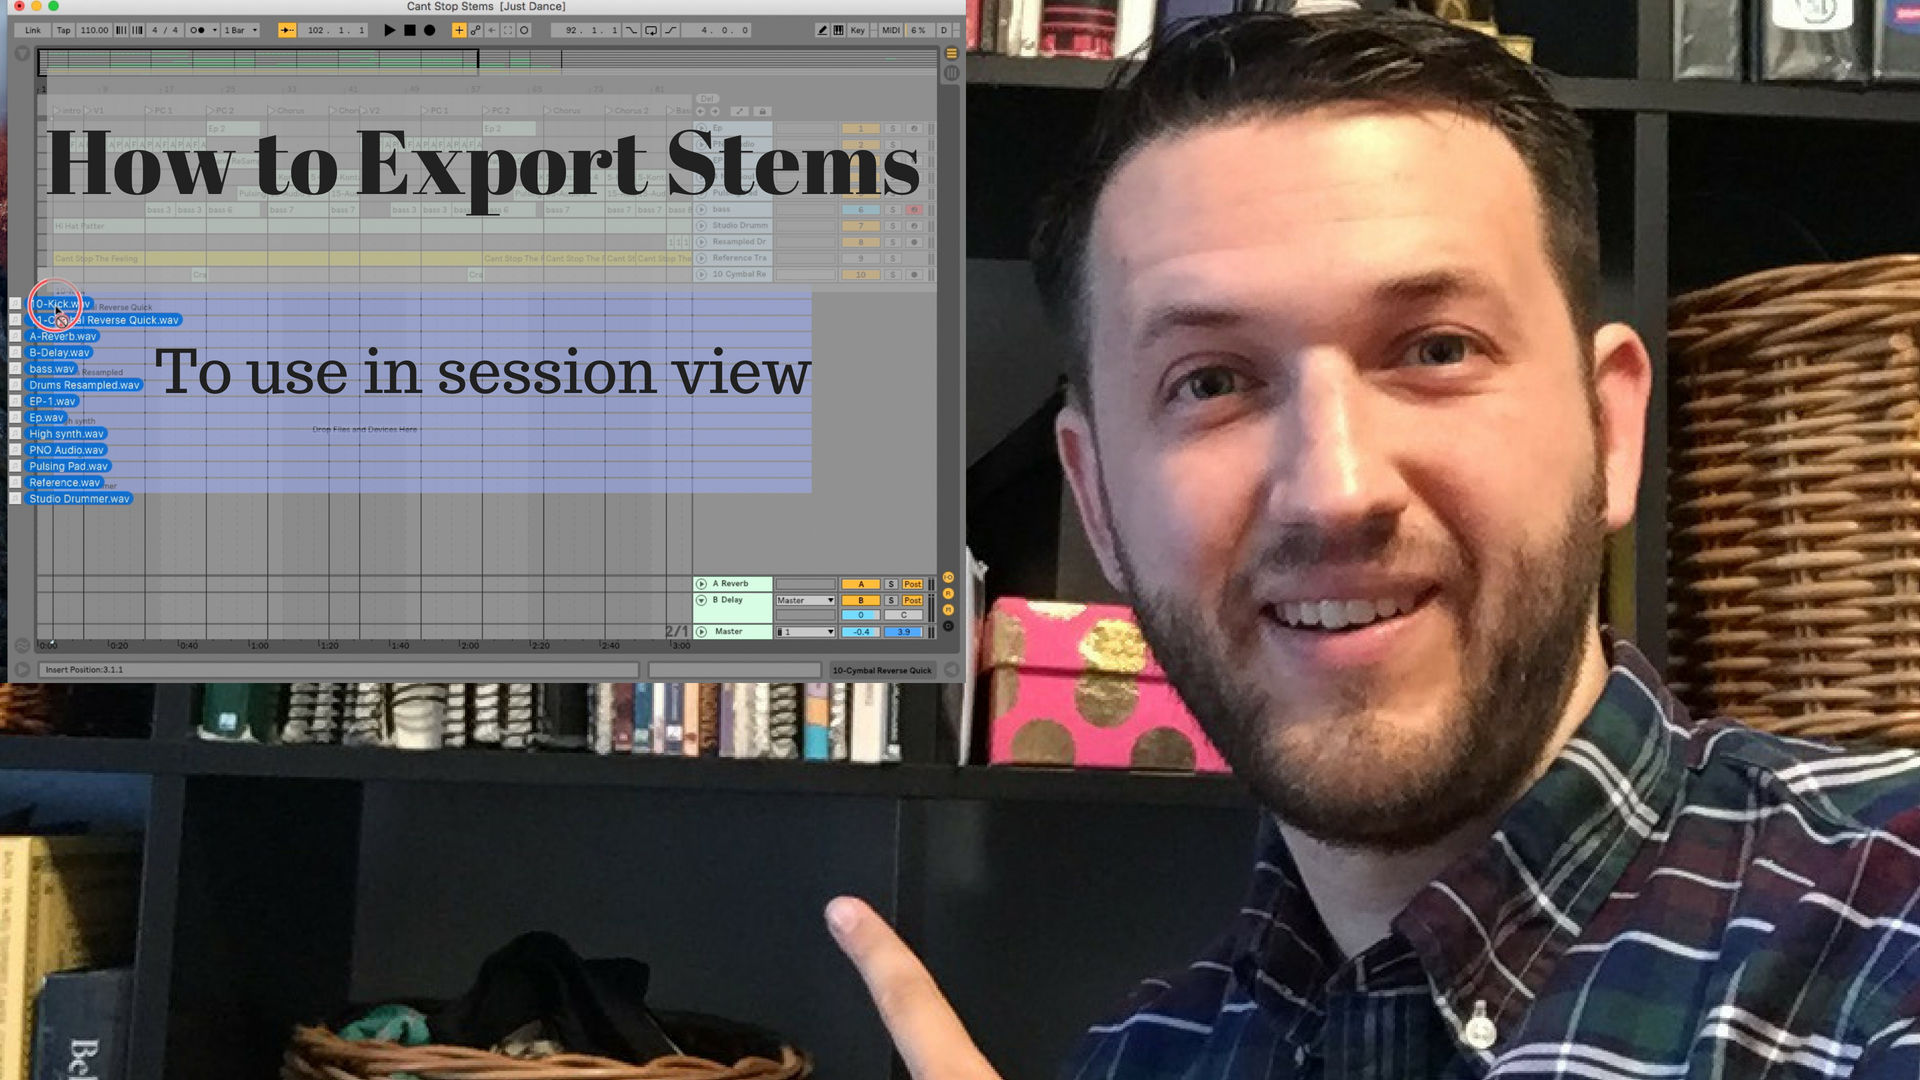
When you are using any type of backing track for live performance, it is helpful to take everything you have created and bounce it down to stems. https://youtu.be/CAL8mLvpjkI Before we move on, here are some helpful terms to understand Bounce down: When Ableton takes the audio and midi information you have created inside the program and creates a new audio file, that sounds identical, outside of the program. Stem: A bounce down of the audio from a single track. Why should I do it? Imagine you have created a synth part on your latest soon to be hit track. You are running your synth through 2 reverb plugins, a chorus, effect, a distortion plugin, and are using a sidechained kick to create a pulsing synth effect. Ableton is taking the…
Read More
One Button Keyboard Split For Lead Lines

One Button Keyboard Split For Lead Lines

1Creating A Keyboard Set Up, 1Sound Design, Blog, Live Playback
Creating flexible keyboard splits can be helpful, especially in a live context when you need to cover more than one part at a time. Sometimes lead parts are not quite high enough to be out of the way of your left-hand pads and switching the octave makes them either lose the punch they are supposed to have or have way too much punch and become distracting Having a second keyboard is one way to solve this problem, but for those of us without a second instrument, or who would rather not bring two keyboards to a gig here is my proposed solution Create a keyboard split that has two zones  Zone 1 from the lowest key to b3 Zone 2 from c4 to the top with an extra plugin that…
Read More
Making A Pulsing Pad Sound

Making A Pulsing Pad Sound

1Sound Design, Blog, Featured, Live Playback, Presets and Sounds
How to make the pulsing synth sound you love Pads are better with a pulse. They add a heartbeat, excitement, and depth to your playing. That’s why so many songs being made now, and honestly for the last long time, incorporate this element. Think about the chorus of “I got a feeling”, or [ Insert accurate song title here ]. There is something intoxicating about the constant rise and fall of the volume: We feel its pulse, and it resonates with us. It gives the impression that the music is alive and moving. If you haven’t noticed this before, now that I’ve pointed it out, you will hear it everywhere. So how do we go about making it? Traditionally, this effect is created using something called sidechained compression. What the…
Read More