Using Automation In Session View

Using Automation In Session View

1UsingAbleton, Blog, Midi, Program Features, Recording
Using Automation in session view is a great way to add life to your currently playing clips. Also, making use of the ability to link and unlink notes and envelopes, you can create interesting and non-standard patterns that don't necessarily sound like a loop. Also, using the IAC bus, automation can act as a way to "store" your timeline based effects. No matter what the reason, mastering session view automation is going to bring your ideas to life. It can take something that sounds okay, and make it sound awesome. What Can Be Automated? Almost anything can be automated in Ableton Live. As a rule of thumb, if you are able to map a parameter to a midi controller, you are able to automate that parameter. There is only one limitation, and…

Read More
Overdubbing In Session View

Overdubbing In Session View

1UsingAbleton, Blog, Program Features, Recording
Overdubbing is a wonderful tool for editing or building new ideas into previously recorded ideas. Ableton lends itself especially well to this in session view because of its design. Clips in session view are designed to be looped (okay, maybe not entirely, but looping is well integrated). Ideas can start as simple as a four on the floor kick drum. Overdubbing allows us to record additional drum parts to that original kick loop while the clip is playing back. It's an awesome feature to be comfortable with. What can be overdubbed? Midi notes, Midi Automation, and Audio Automation can be overdubbed in session view. Unfortunately, Audio can't be overdubbed. You can always combat this by creating an additional audio channel strip if you wish to overdub. Overdubbing Midi Notes As…
Read More
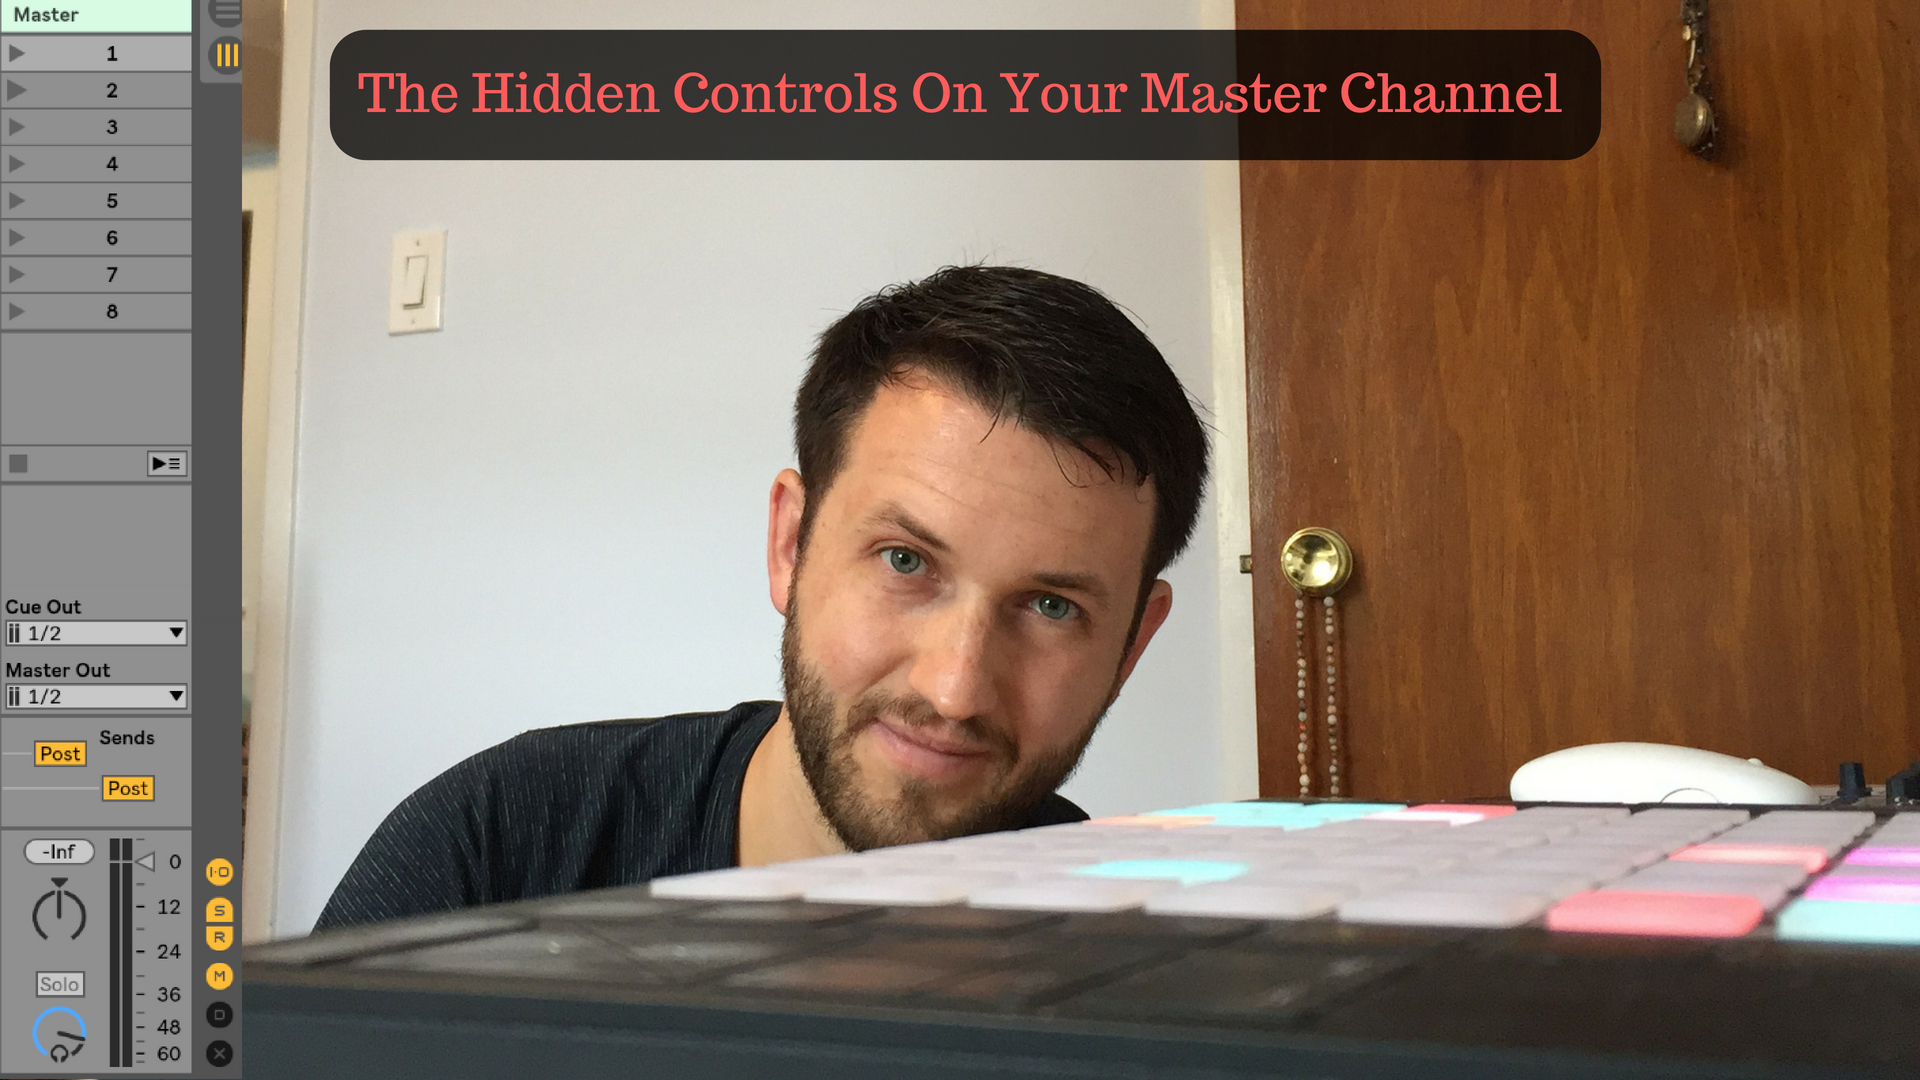
Hidden Show/Hide Menu’s On Your Master Channel

Hidden Show/Hide Menu’s On Your Master Channel

1UsingAbleton, Blog, Program Features
Today we are talking about Ableton's hidden menus. It's a special part of Ableton. Once you find them all, you will come to love and adore how they are set up. As you all well know, screen space is limited. I actually went through a phase of time where I was using Ableton on a big screen TV so I could see everything I was doing. Those days have since passed and I've upgraded to a cleaner and more reasonable monitor. But what we came here to talk about is the 6 hidden menus on your master channel. Ableton often hides things away a little bit by keeping different layers of controls in separate menus. At first, this can be frustrating as you are trying to find things, but ultimately, this…
Read More
Follow Actions For Groups

Follow Actions For Groups

1UsingAbleton, Blog, Live Playback, Program Features
My first introduction a group follow action came from being a part of the band Fate Of Fools. We managed to create a ton of awesome stuff as just two people, but it required the triggering of some of the parts we weren't able to physically reproduce during a live show. My guitarist and closest friend, Jeff, would fire the first clip of our songs using a foot controller, and he would program follow actions to take us all the way through to the end of the song. Since we were using multiple different audio parts, and also some midi control tracks, there were times when we would be firing 8 or 9 different channels of clips per scene. That's a lot of work if you need to do that…
Read More
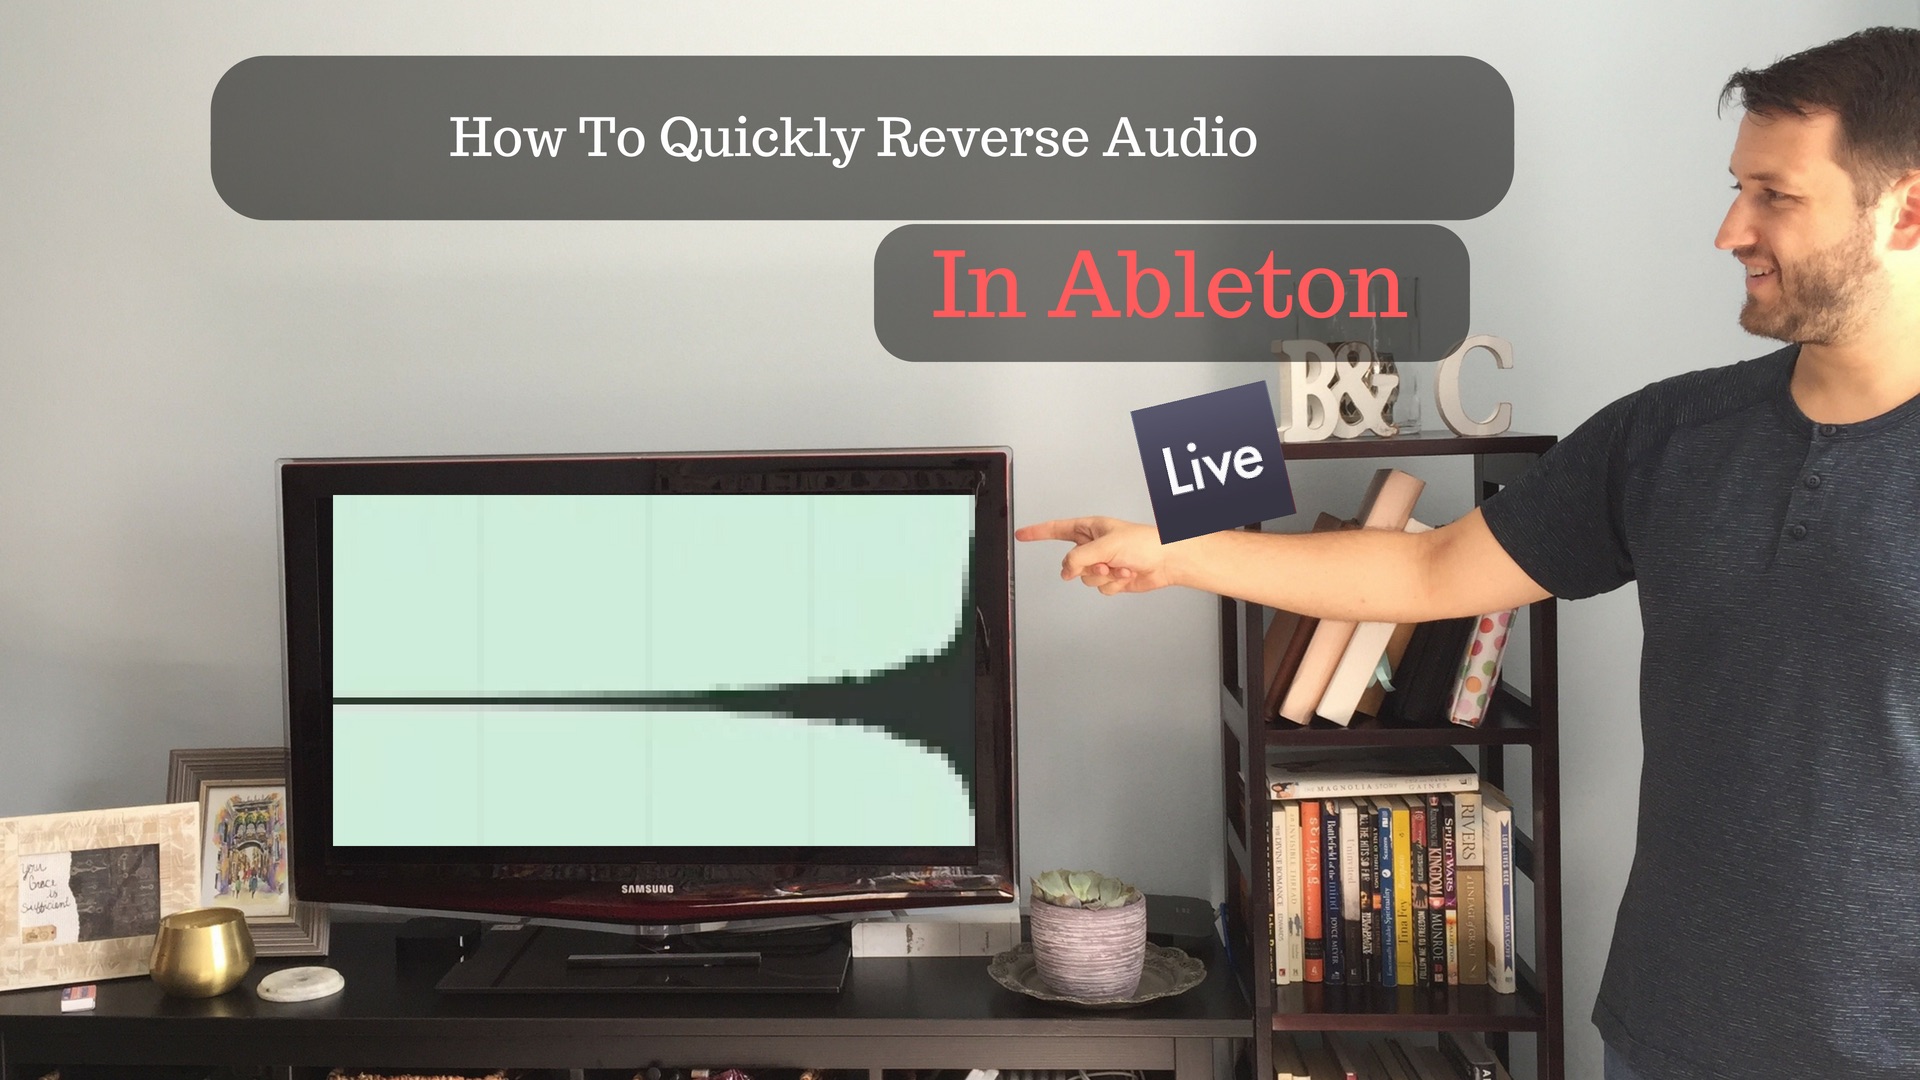
Two Ways Reverse Audio In Ableton

Two Ways Reverse Audio In Ableton

1Sound Design, 1UsingAbleton, Blog, Program Features
It's extremely simple to reverse audio in Ableton. It can literally be done with the push of a button. Now, it wouldn't be much of a blog post if I just told you right in the second sentence of this post that all you need to do is select what you want to reverse and press, "R" on your keyboard, so travel with me as I stretch this out for at least 400 words. 2 Ways To Reverse Audio Method 1: Using the R key Step 1: Select a piece of audio that you would like to reverse Step 2: Press R to reverse it You have now created reverse audio Method 2: The Clip View Step 1: Double-click the audio you wish to reverse to reveal the clip view box on the…
Read More
Sends Vs Inserts: When and How In Ableton Live

Sends Vs Inserts: When and How In Ableton Live

1Sound Design, 1UsingAbleton, Blog, Recording
Once upon a time, in a faraway kingdom, all audio was processed without DAW's. ::GASP:: It's true. There was a time before Logic Pro and Ableton and the likes were so easily accessible. Much of what is done in the digital realm of audio is paying homage to the analog world. This is where we get sends vs inserts. Certain audio effects were entirely separate units that audio needed to be "sent" to. See what I did there? A General Rule of Thumb Sends are to be used when you are adding to the original sound Insert effects are to be used when you are shaping and transforming the original signal. Simple enough, right? Now let's look at this in a bit of context. The most typical audio effect used as a…
Read More
3 Ways To Zoom In Ableton

3 Ways To Zoom In Ableton

1UsingAbleton, Blog, Program Features, Recording
Those of you that know me, know that there are few things in the computer world I love more than good keyboard shortcuts. I collect them like absolute treasures, and you should too. It's actually what inspired me to write this whole post on how to zoom in Ableton. Why? Because they are major time savers. When working with programs like Ableton, keyboard shortcuts cut down your work time immensely. Think about this, you are working on editing a keyboard track. Every single time you need to find the next note you want to edit it you need to... Zoom out Find the note Zoom back in Edit the note zoom back out If each zoom takes 4 seconds, then every time you need to edit a note, you have…
Read More
Follow Actions For Clips In Ableton

Follow Actions For Clips In Ableton

1UsingAbleton, Blog, Live Playback, Program Features
Follow actions are an essential tool to have a handle on. Whether or not you use them during a live set is somewhat irrelevant. They are an awesome way to spark creativity with random combinations of firing clips, and can also be helpful in creating a consistent song form, even if the form is spread out among multiple clips. but first a story... Not too long ago I was hired to create audio tracks for an ear training course. Most of it was honestly pretty straightforward. Record some intervals, label them and bounce them out. It was a quite robust project, however, and since the sheer amount of recordings that needed to be created were so many, It was a long and tedious job. Follow actions really came to save me on…
Read More
Start, Stop, And Loop: Session View

Start, Stop, And Loop: Session View

1UsingAbleton, Blog, Live Playback, Midi, Program Features
When making music in session view, there will be times the grid works to your advantage, and times that you need to work around the grid. Adjusting start, stop, and loop points allow you to create passages of music in a single clip that feel organic. Some Context... I have played an insane amount of musicals. For most of my life, I was always musical directing and conducting. Something that often happens in theatre is a vamp. Its a repeated bar or passage of music that happens over and over until some sort of stage action, or a line, tells you to move on. I like to think about start, stop, and loop markers like a vamp. Ableton allows you to start a clip from the beginning, but start your loop anywhere…
Read More
Using Capture in Ableton Live 10

Using Capture in Ableton Live 10

1UsingAbleton, Blog, Live Playback, Midi, Program Features
One of the features that I missed when I moved from Logic and Mainstage over to Ableton was the ability Logic has to recall what I played, even if I wasn't recording. In Ableton 10, this has been remedied with the use of the new feature, "Capture". https://youtu.be/ghUQbkwcz0k How does Capture work? Ableton is always aware of what you are playing on a monitored track. That means if your monitor input is set to, "In", or your track is record enabled, Ableton heard what you are doing. If at any point in time you want to recall what you did, you can press the capture button, or if you are working with a Push, you can use the record button + the new button. The Capture button is located to…
Read More