Follow Actions For Clips In Ableton

Follow Actions For Clips In Ableton

1UsingAbleton, Blog, Live Playback, Program Features
Follow actions are an essential tool to have a handle on. Whether or not you use them during a live set is somewhat irrelevant. They are an awesome way to spark creativity with random combinations of firing clips, and can also be helpful in creating a consistent song form, even if the form is spread out among multiple clips. but first a story... Not too long ago I was hired to create audio tracks for an ear training course. Most of it was honestly pretty straightforward. Record some intervals, label them and bounce them out. It was a quite robust project, however, and since the sheer amount of recordings that needed to be created were so many, It was a long and tedious job. Follow actions really came to save me on…
Read More
Start, Stop, And Loop: Session View

Start, Stop, And Loop: Session View

1UsingAbleton, Blog, Live Playback, Midi, Program Features
When making music in session view, there will be times the grid works to your advantage, and times that you need to work around the grid. Adjusting start, stop, and loop points allow you to create passages of music in a single clip that feel organic. Some Context... I have played an insane amount of musicals. For most of my life, I was always musical directing and conducting. Something that often happens in theatre is a vamp. Its a repeated bar or passage of music that happens over and over until some sort of stage action, or a line, tells you to move on. I like to think about start, stop, and loop markers like a vamp. Ableton allows you to start a clip from the beginning, but start your loop anywhere…
Read More
Three Ways To Add Stereo Depth To Your Synths

Three Ways To Add Stereo Depth To Your Synths

1Sound Design, Blog, Midi, Presets and Sounds, Program Features
Adding stereo depth to your synth can make the somewhat lame not so bad, and the absolutely awesome, completely incredible. It ups your game. For a while, I really struggled to create interesting sounds with my synths. While there are a ton of possibilities for creating deep, interesting, and evolving sounds without using any effects at all, using some audio effects can really help speed the process along, especially for beginners in synthesis. Here are three really easy ways to add stereo depth to your synths. By the way, if you are new to Ableton, The Complete Transition Course comes with 15 great sounds you can start using immediately. You can check that out in the link above. https://youtu.be/448tBXO2aX0 Method One: Reverb It’s great if you’ve got a reverb setting…
Read More
Using Capture in Ableton Live 10

Using Capture in Ableton Live 10

1UsingAbleton, Blog, Live Playback, Midi, Program Features
One of the features that I missed when I moved from Logic and Mainstage over to Ableton was the ability Logic has to recall what I played, even if I wasn't recording. In Ableton 10, this has been remedied with the use of the new feature, "Capture". https://youtu.be/ghUQbkwcz0k How does Capture work? Ableton is always aware of what you are playing on a monitored track. That means if your monitor input is set to, "In", or your track is record enabled, Ableton heard what you are doing. If at any point in time you want to recall what you did, you can press the capture button, or if you are working with a Push, you can use the record button + the new button. The Capture button is located to…
Read More
Preset Spotlight: Lush Roads

Preset Spotlight: Lush Roads

1Sound Design, Blog, Live Playback, Presets and Sounds
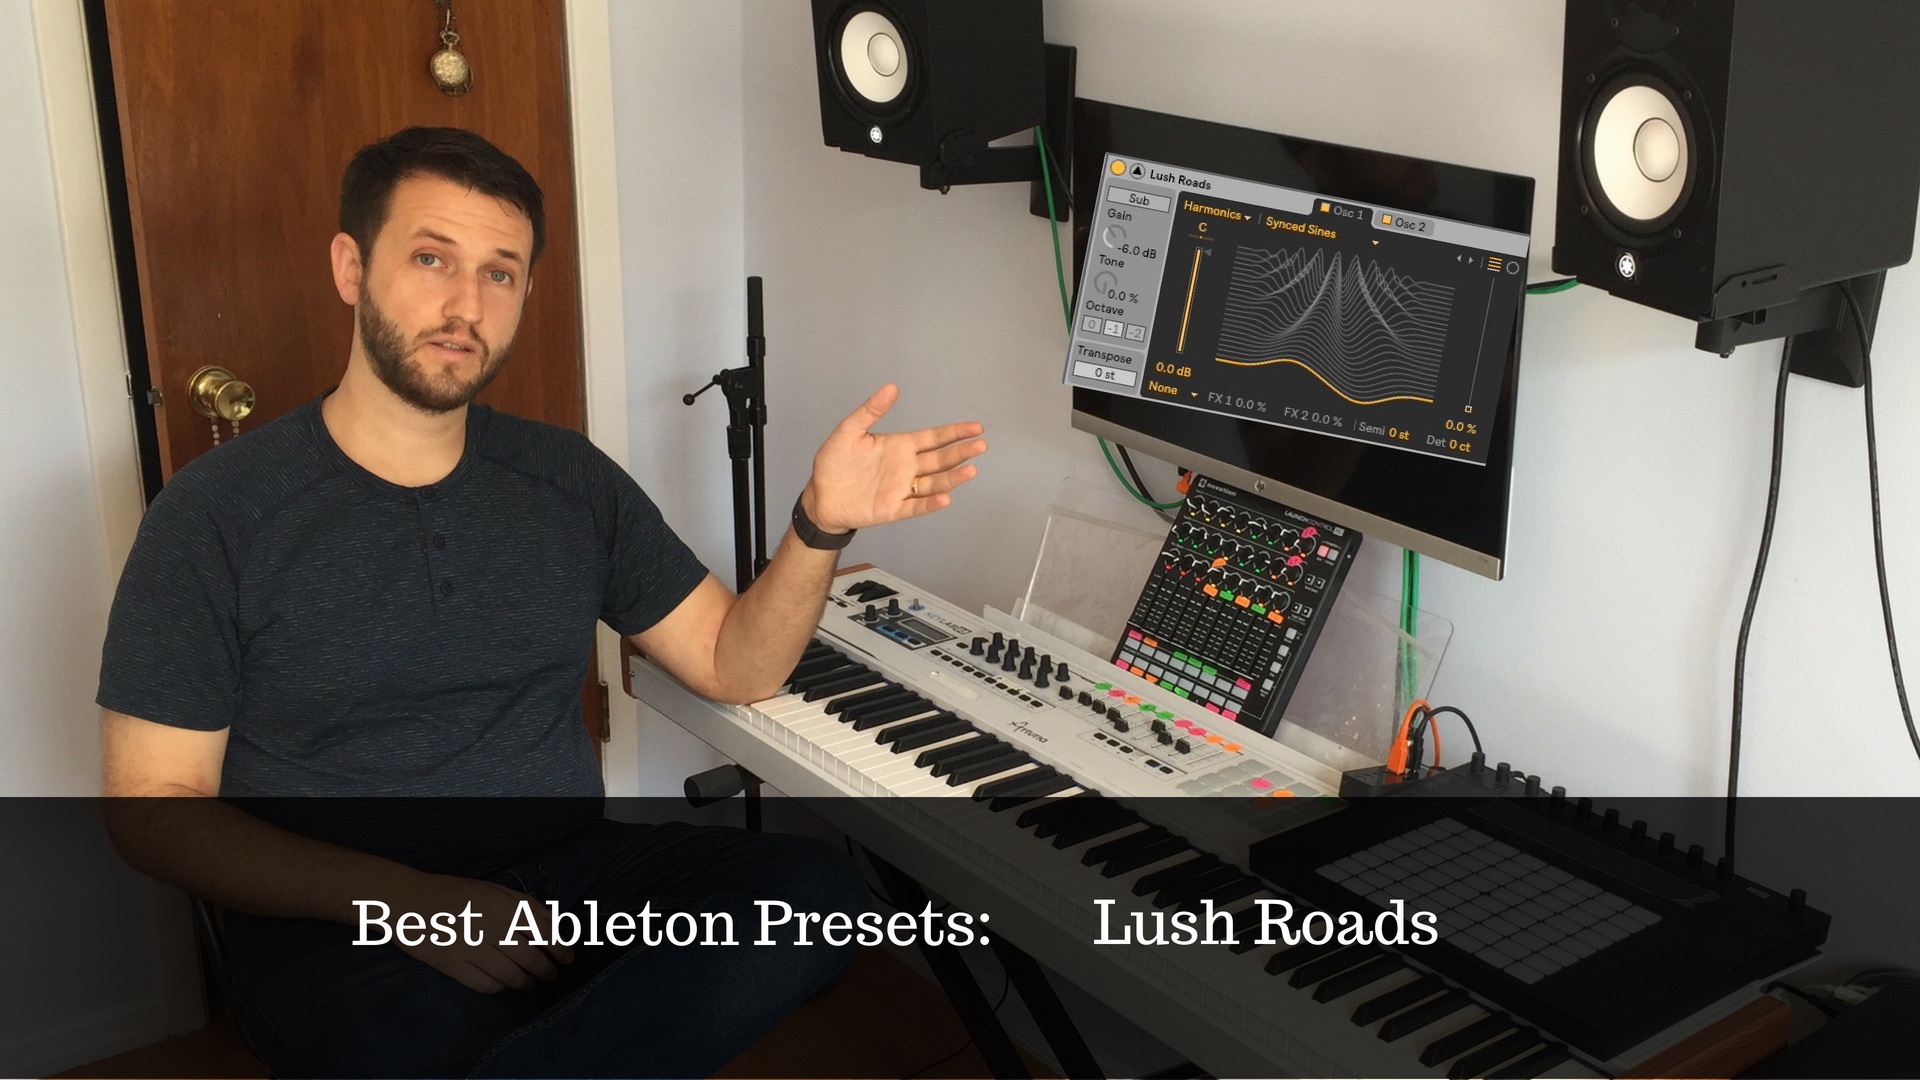
I love a good preset sound. I even love a halfway decent sound. Presets are a great starting point to make something awesome. Thankfully, Ableton is full of great presets. Recently, I've been really enjoying checking out all of the awesome wavetable presets. Today we are checking out the wavetable preset, "Lush Roads". https://youtu.be/pdSbiyRBT3g What I Love About It The Attack When you strike the first note, you may hear a slight "wah" sound. You can create this sound a few different ways. In this case, we can credit that nice audible chunk to the attack of envelope 2. Although it is relatively short, that "wah" sound is coming from the rising of oscillator 1's position. I like when sounds have an interesting quality to the attack. As a musician, we get…
Read More
Ableton’s Arpeggiator Device

Ableton’s Arpeggiator Device

1Sound Design, 1UsingAbleton, Blog, Midi, Program Features
Ableton's arpeggiator device is awesome in every way. At first, I found some of these controls to be a little cryptic, so today I am going to break them all down so you have a clear Idea of what they all do. Understanding puts the creative power in your hands. Let's begin! https://youtu.be/x0Quzf8nEew Style Style determines how Ableton will break up the chords that you play. There are 18 different options. The following shows what the arpeggiator would produce when given the input, C-E-G-C   Groove Groove determines if your notes should be played straight, or if they should be swung. You can choose swung 8ths or 16th. Hold Hold will repeat the notes you've played until you play new ones. If you physically hold any notes down with hold…
Read More
3 Tips To Keep Ableton Running Smooth

3 Tips To Keep Ableton Running Smooth

1Creating A Keyboard Set Up, 1UsingAbleton, Blog, Midi, Program Features
When I hear people talking about keeping Ableton running smooth, I constantly hear the buzzword, CPU. First of all, what is CPU anyway? Is it different than ram? How does it affect my computer? Ram is storage that your computer uses to hold files that need to be immediately used by a program. It’s sort of a short-term memory. Now, if a program closes and things to no longer need to be held in your RAM, your computer will remove them. CPU is the part of your computer that is responsible for completing actions. They could be simple like knowing when you are using your mouse, or complex like transposing audio in Ableton. CPU also is the part of your computer responsible for moving things to and from your RAM. Simply,…
Read More
Why You Must Start Using Collect All And Save

Why You Must Start Using Collect All And Save

1UsingAbleton, Blog, Program Features
Collect all and save is a handy way to take all of the files that you have used to make music in Ableton, And allow Ableton to store those files in its own folder. Ableton naturally references files from outside of the program. What does that even mean? I'm glad you asked. https://youtu.be/OqJQQq6uI3c How Ableton Uses Files Have you ever added an audio file to Ableton from your desktop? If you have, then you've probably noticed that a second file is created with a very similar name, except at the end of it, it uses the suffix ".asd". An ASD file is Ableton's analysis file. Inside that file contains everything the program knows about the song. But you may be wondering, why is it on the desktop, and not in…
Read More
Why You Need To Start Deactivating Unused Clips And Notes

Why You Need To Start Deactivating Unused Clips And Notes

1UsingAbleton, Blog, Midi, Program Features
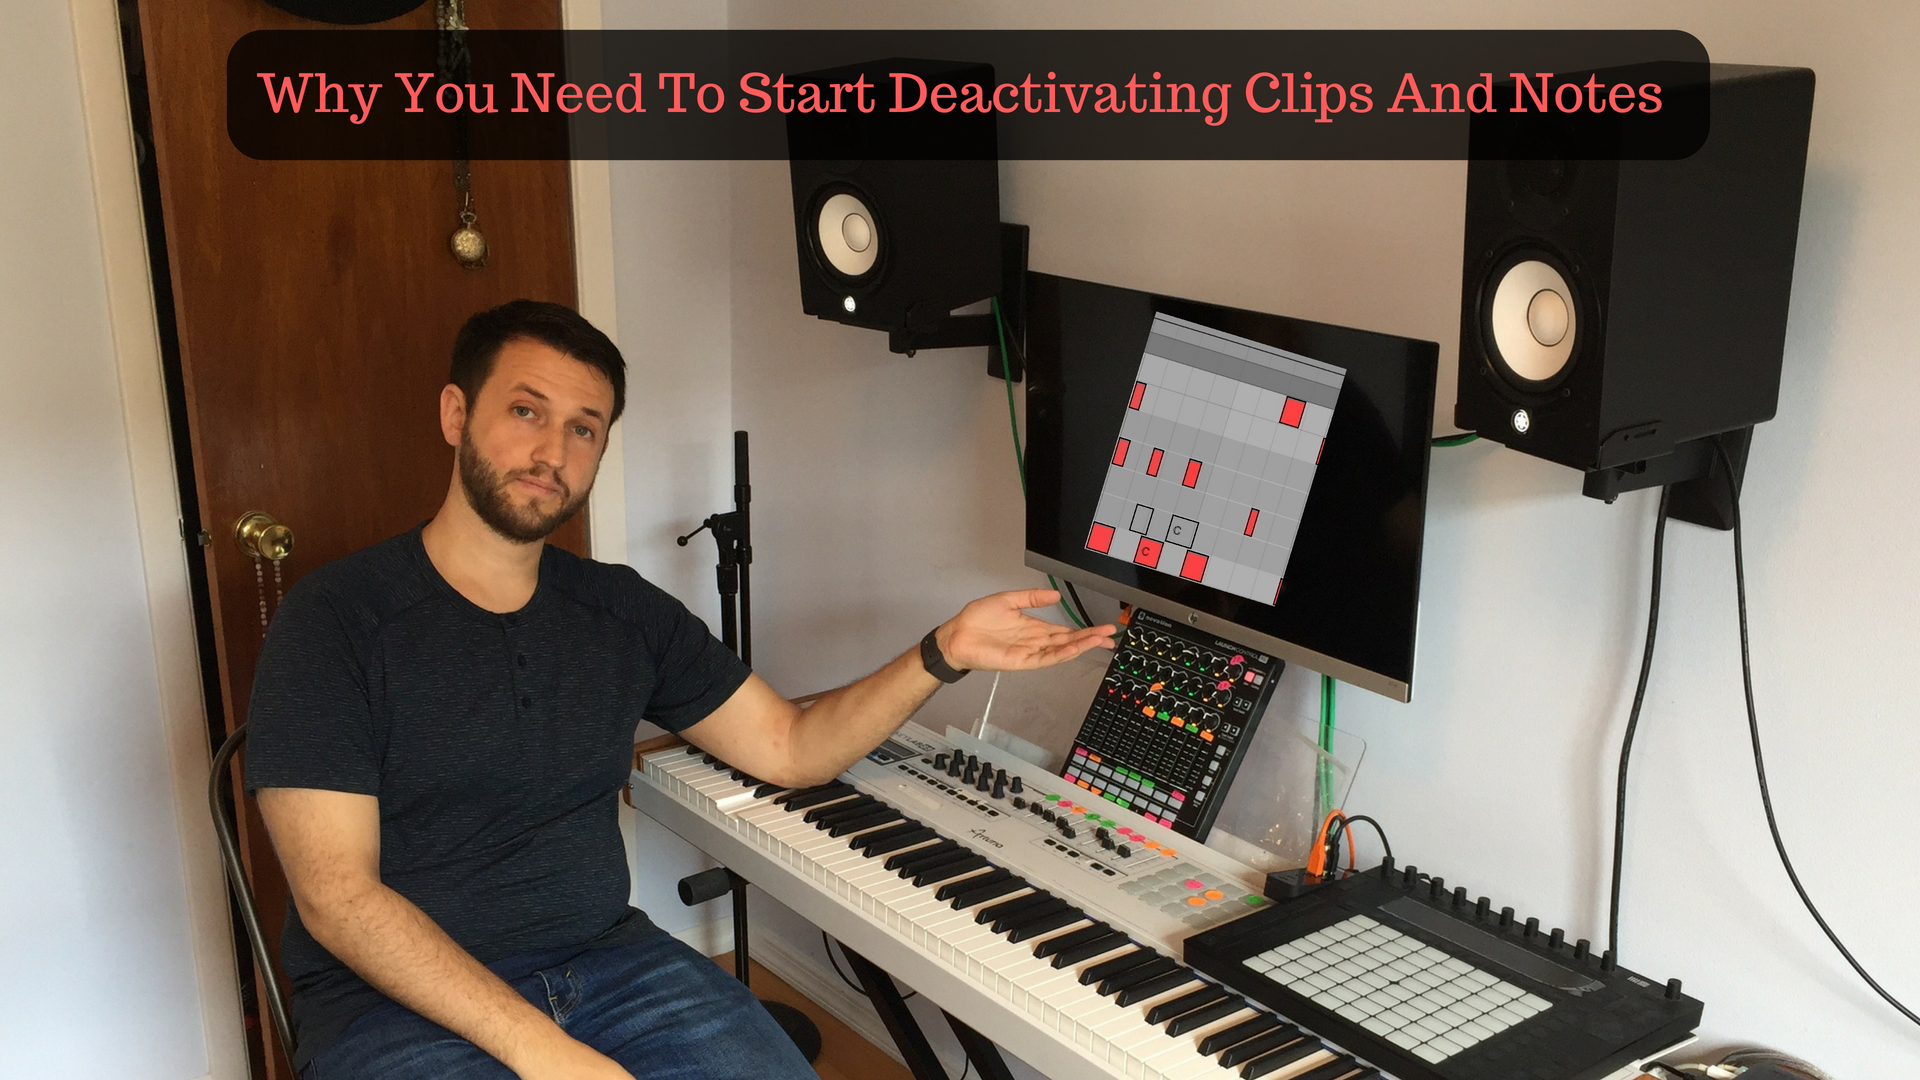
How many times have you made a drum part that is just a little bit too busy for verse 1? How many times have you copied a piano part to a string section and wanted to mute the piano notes, without muting the whole track? It's hard for me to count. This is why it can be so helpful to deactivate clips and notes. https://www.youtube.com/watch?v=ecpP1_aNyb0&feature=youtu.be Your Fancy Drum Part Now, you've spent roughly the last 48 hours working on a 4 bar drum loop. You are trying to keep it tame and tasteful, so you've only used a kick, snare, 4 toms, vocal shouting FX, guitar slices, crash cymbal, Chinese cymbal, guiro, and shaker, maraca, bell tree, hi-hat, tambourine, and rain stick. You can tell you've finally arrived at musical perfection.…
Read More
Exporting Stems To Session View

Exporting Stems To Session View

1Creating A Keyboard Set Up, 1Sound Design, Blog, Live Playback
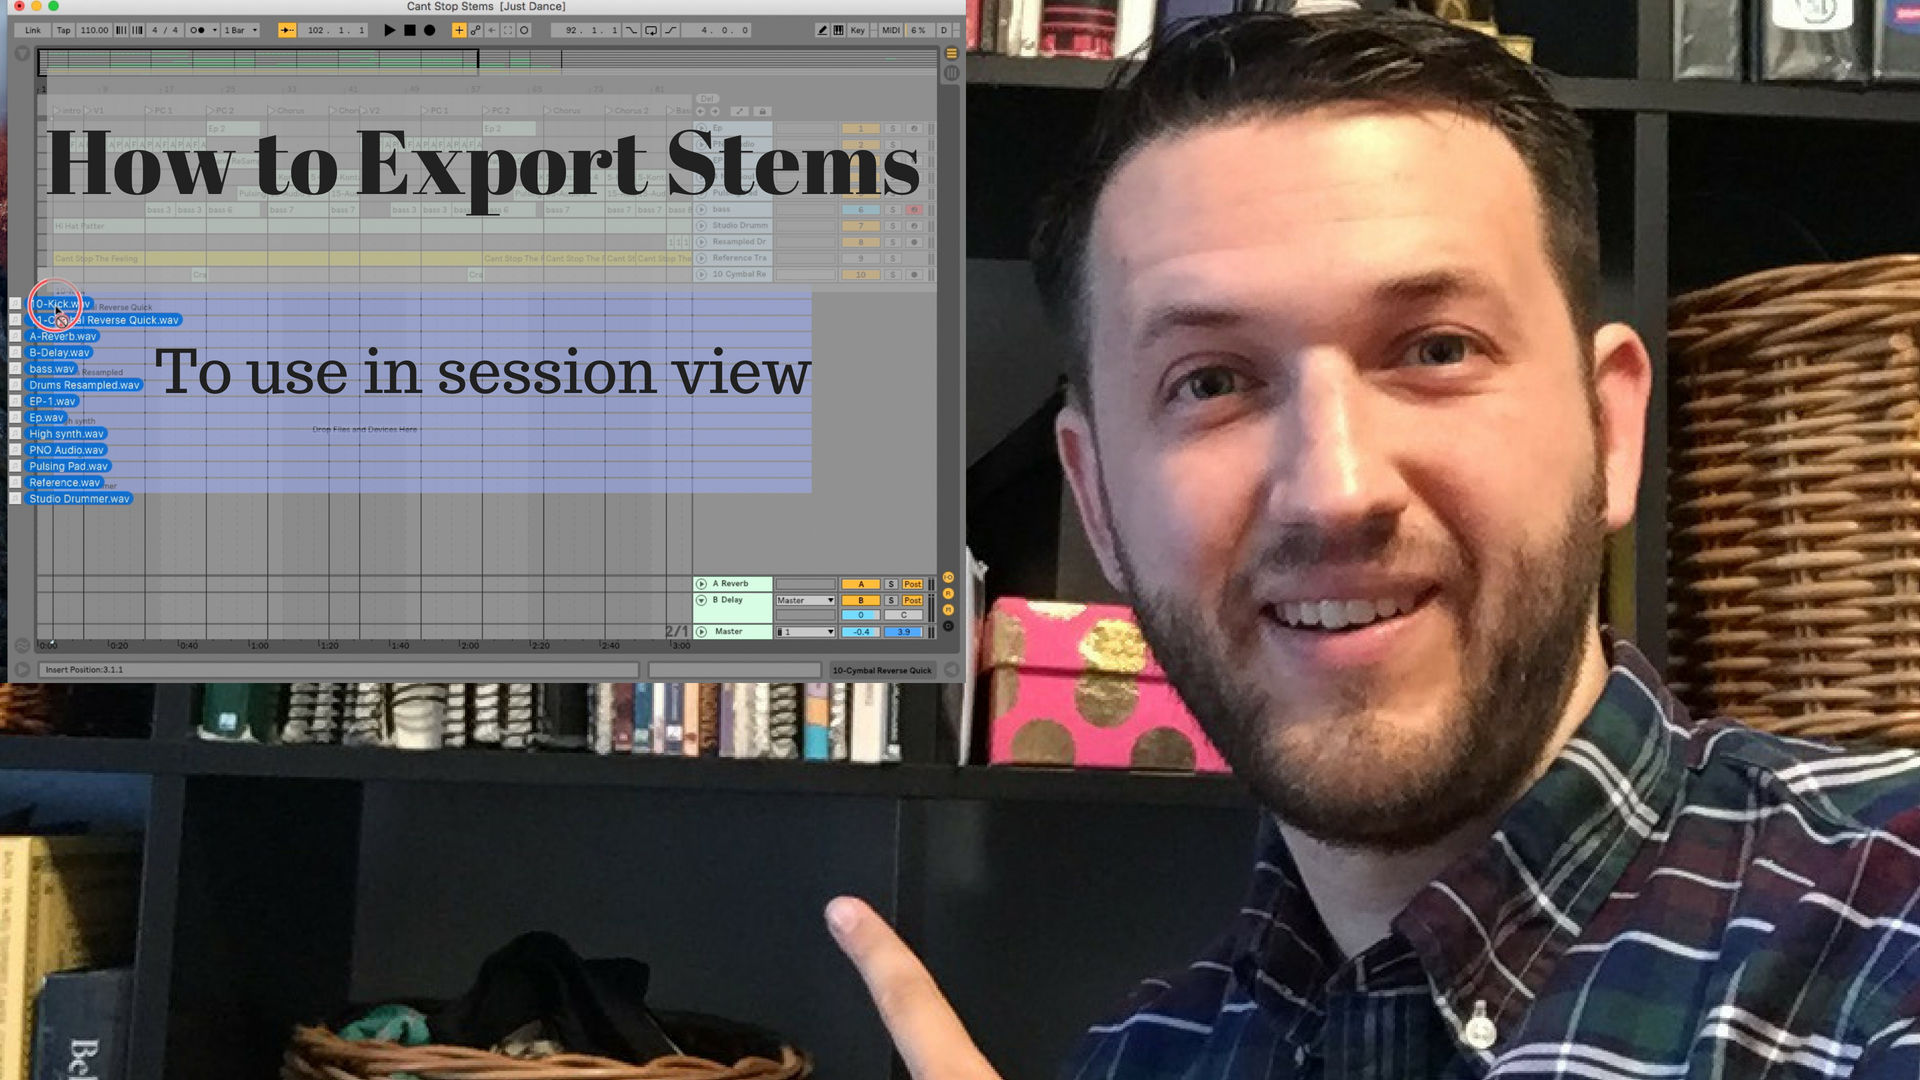
When you are using any type of backing track for live performance, it is helpful to take everything you have created and bounce it down to stems. https://youtu.be/CAL8mLvpjkI Before we move on, here are some helpful terms to understand Bounce down: When Ableton takes the audio and midi information you have created inside the program and creates a new audio file, that sounds identical, outside of the program. Stem: A bounce down of the audio from a single track. Why should I do it? Imagine you have created a synth part on your latest soon to be hit track. You are running your synth through 2 reverb plugins, a chorus, effect, a distortion plugin, and are using a sidechained kick to create a pulsing synth effect. Ableton is taking the…
Read More