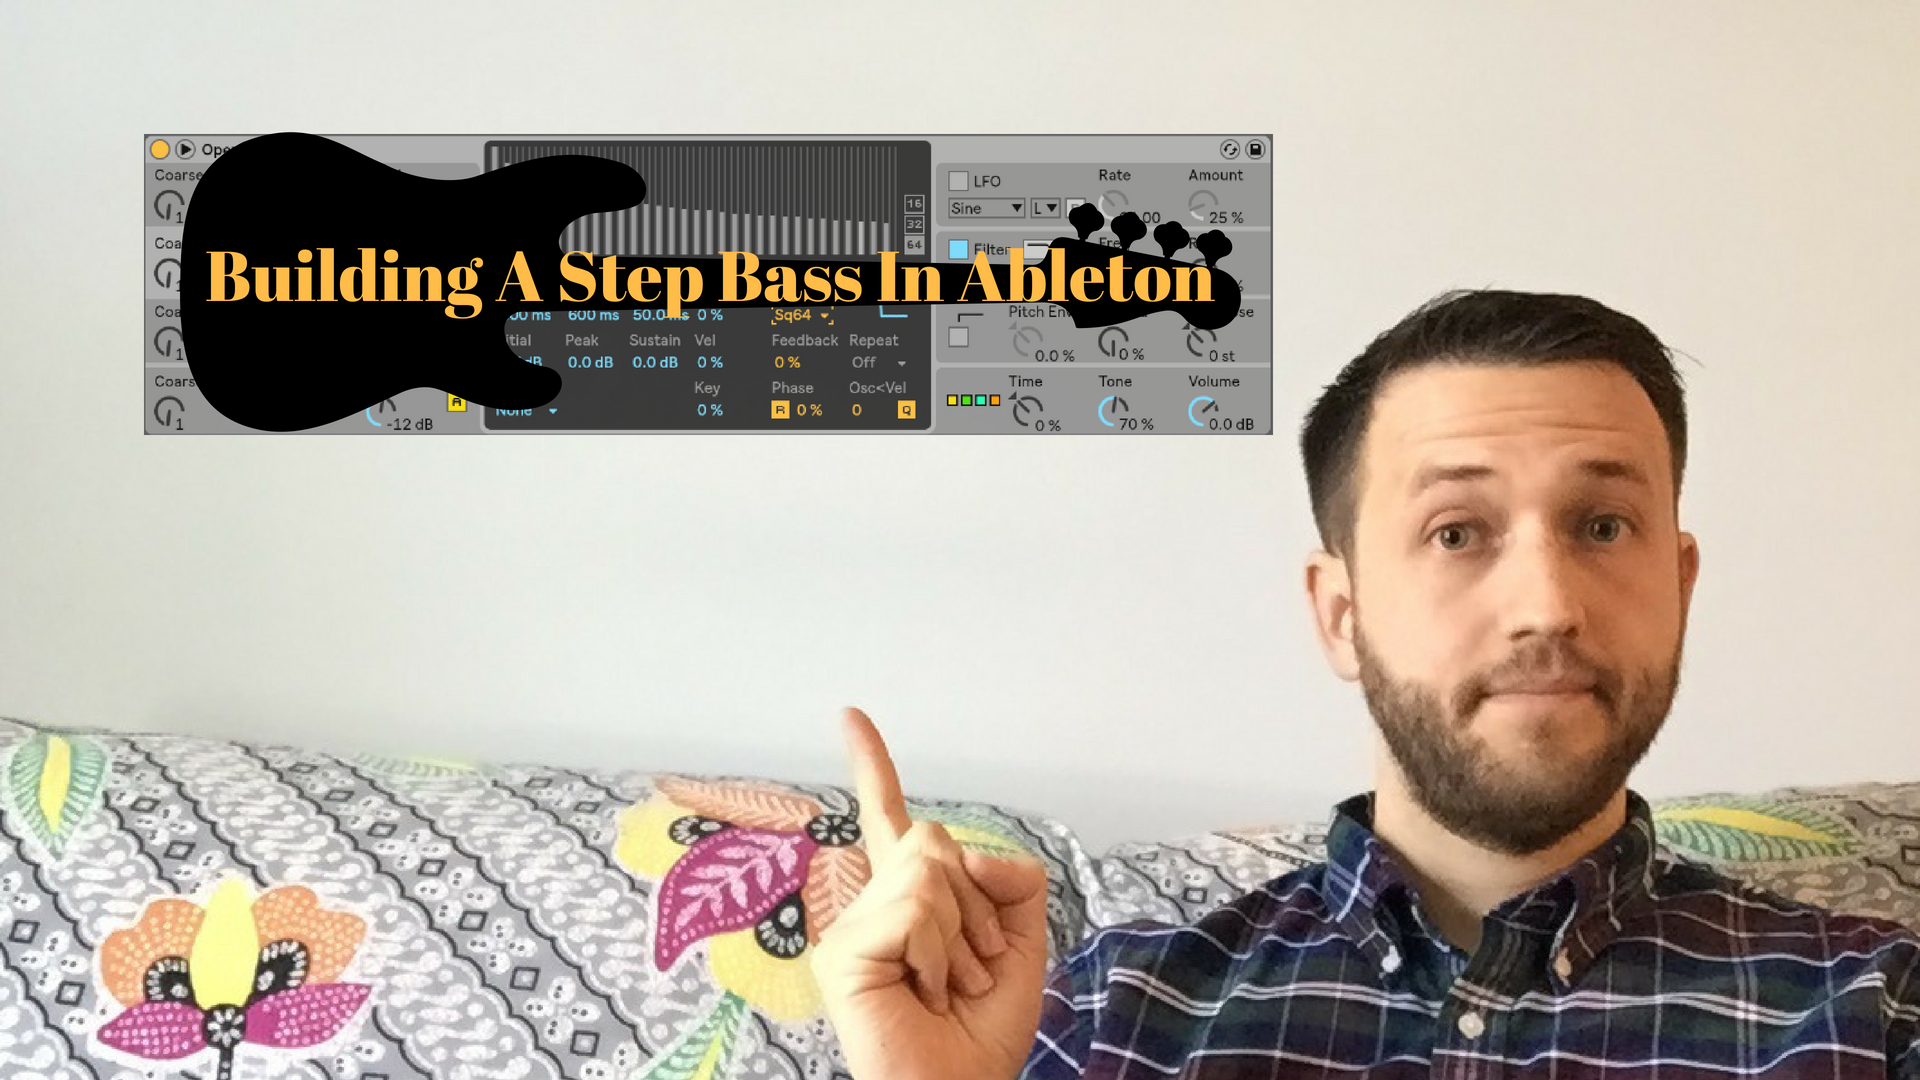
Building a Step Bass
For today's post, we are going to use Ableton's built-in "Operator" to create a step bass. I like to think of a step bass as any bass sound that has a repeating pattern on one note. We are going to create our "stepping" sound today by making use of Ableton's arpeggiator. If you don't have Operator, or even if you don't have Ableton, you can still follow along and build this sound in virtually any synthesizer. I highly recommend synth 1 if you are just getting into building sounds and you need a good plugin to start with. https://youtu.be/u_0KUyhz-GA Building Your Step Bass Step 1: Add an instance of Operator to a default midi channel strip. Operator is great for FM synthesis, but for our purposes today we want Operator to…