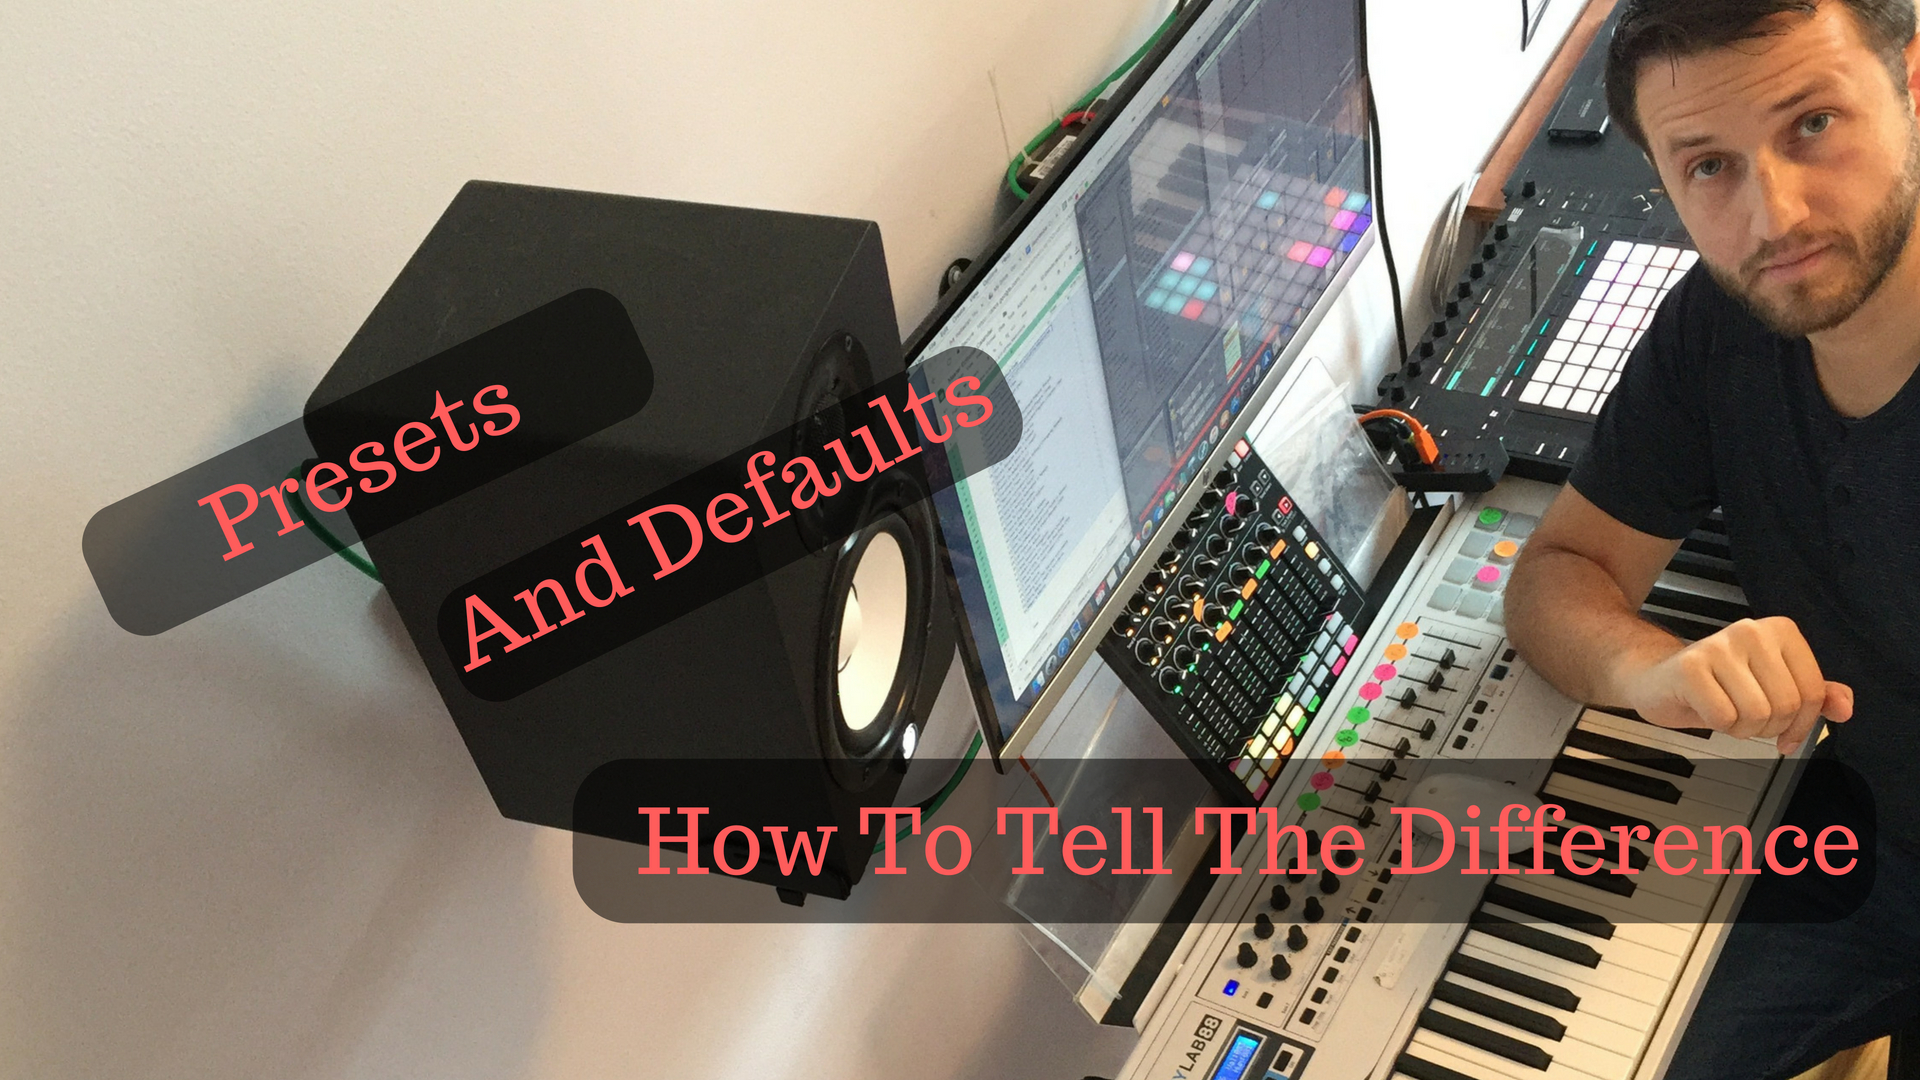
Abletons Browser: Preset, or Default?
I recently had a friend in town who makes great music in Logic but has never touched Ableton before. As he was working on Ableton with me, one of the first questions he asked was, "Are there preset options?" And hence, this post. https://youtu.be/N69sUcHk348 Ableton's Browser Ableton's browser is organized by folders and is located on the left-hand side of your user interface. I think the browser actually makes it very easy to find things once you understand how it works. To the very top left is the show/hide browser triangle that lets you hide the browser when you don't need to see it. Just below that is your list of categories. I like to think of this section in plain English as things that can be added to your set by…